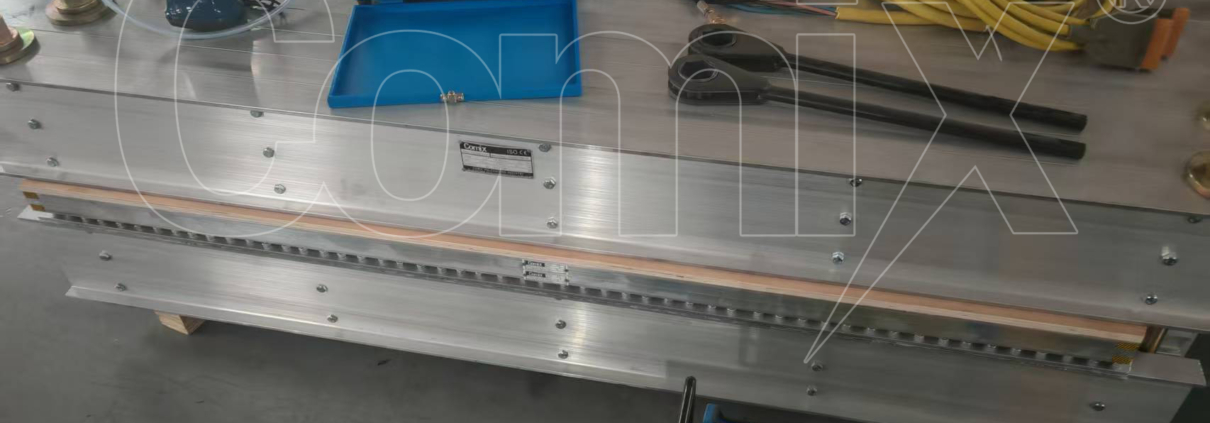
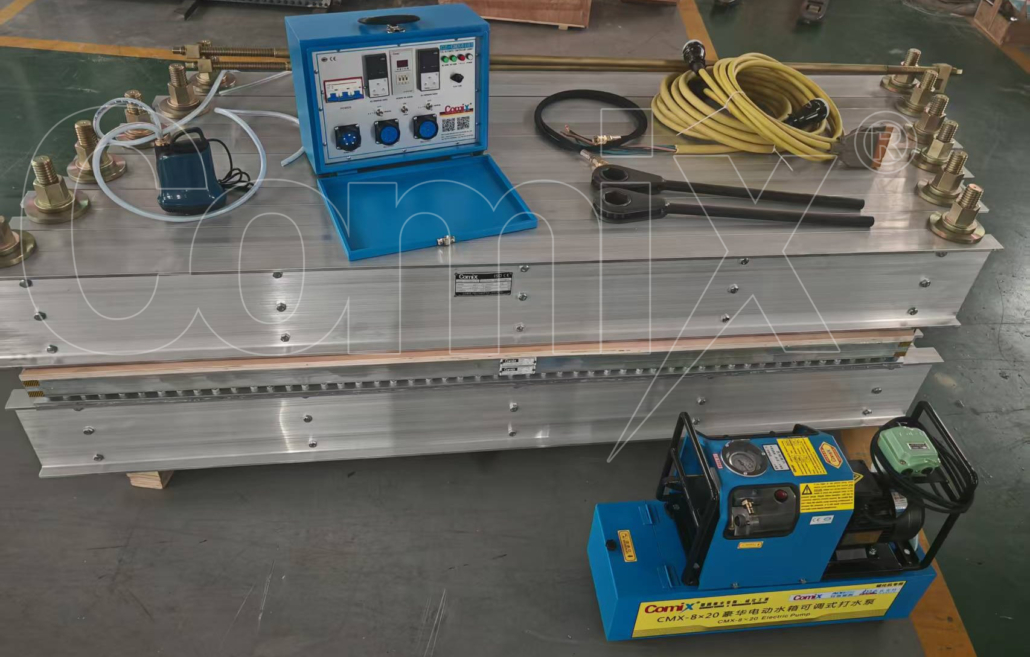
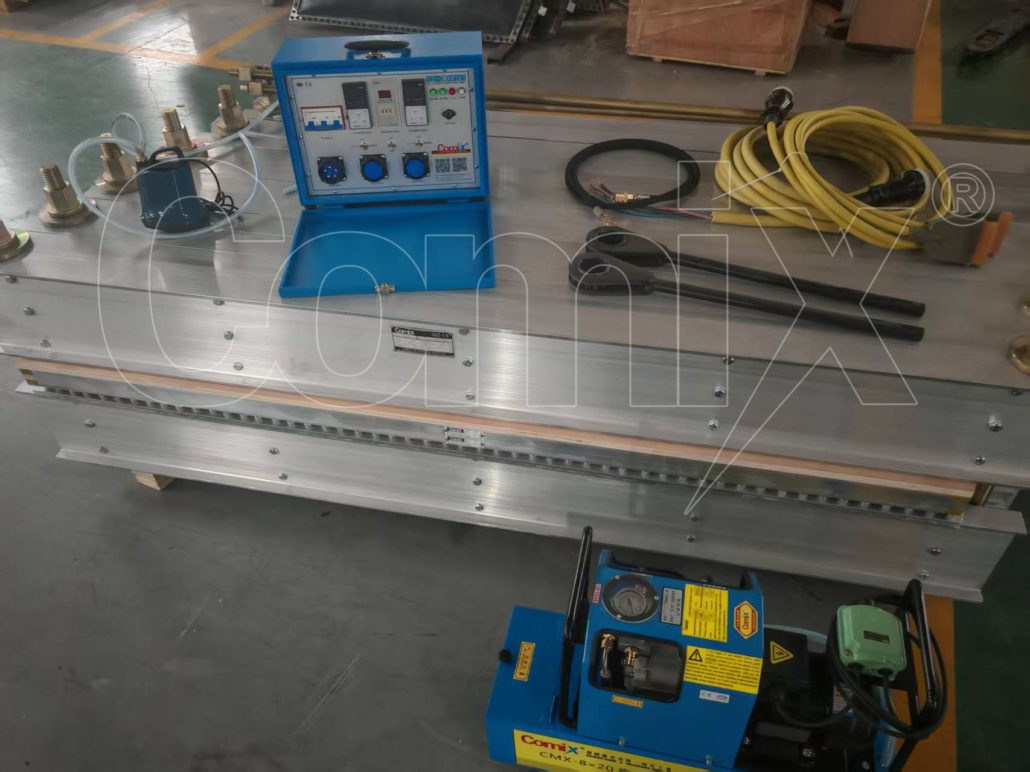
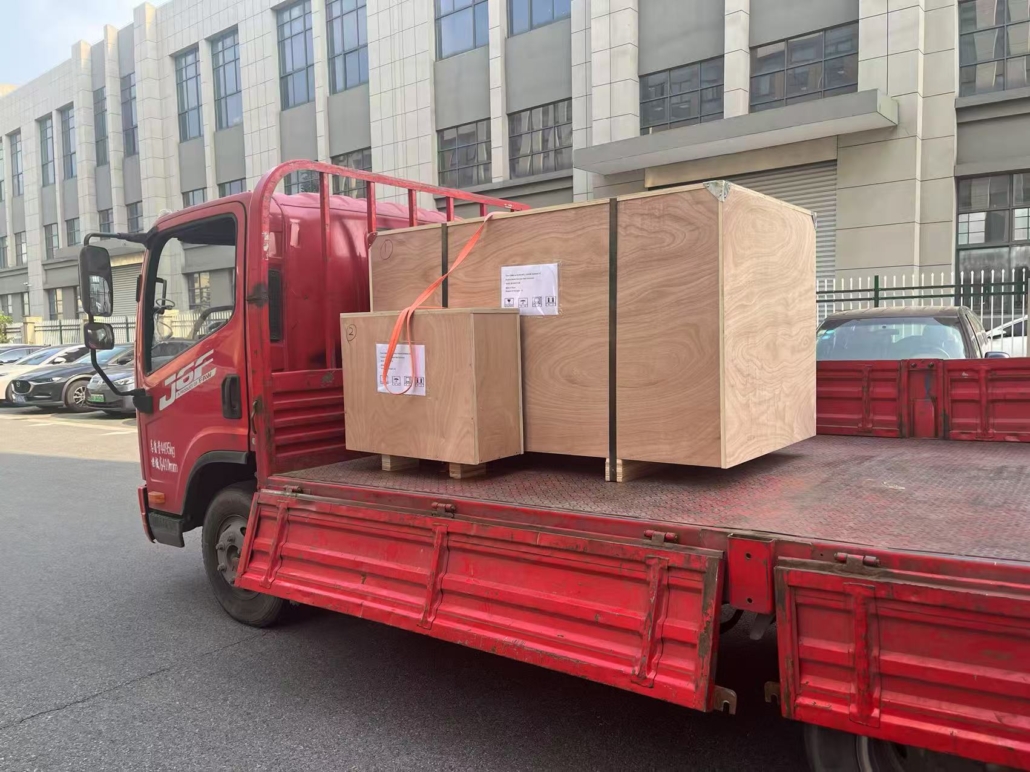
One set conveyor belt vulcanizing press for 1800mm belt width has been delivered to Nigeria. It is traditional old type machine. The heating plate size is 2080*1060mm, with 20°bias angle. It takes about 30mins to heat up to 145℃. The machine has water cooling system, we also provide water cooling pump. In addition, we equip the vulcanizing press machine with electric water pump, which is very convenient and fast to provide the pressure for the machine on site.
If you are looking for suitable conveyor belt vulcanizing press in near future, you are welcome to contact us. We can quote the price and help you make the proposal.
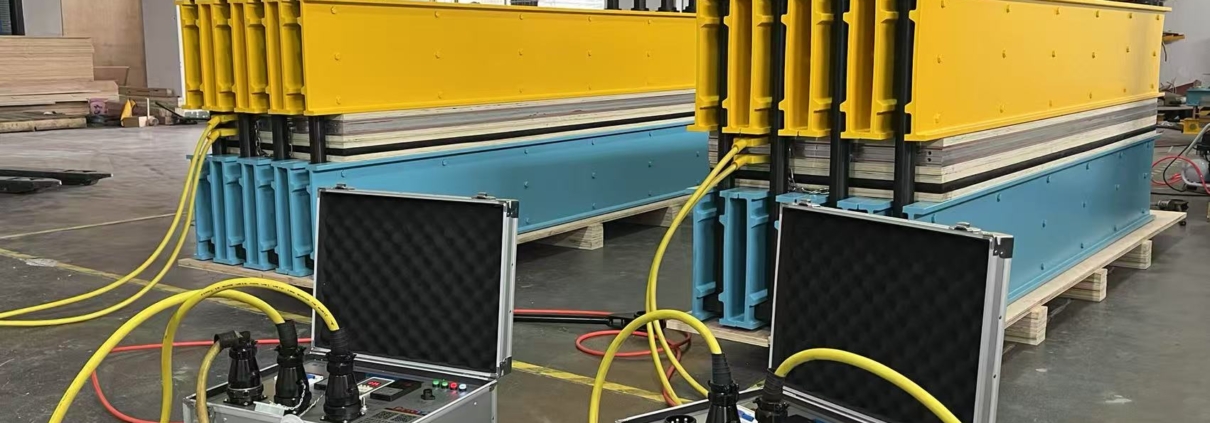
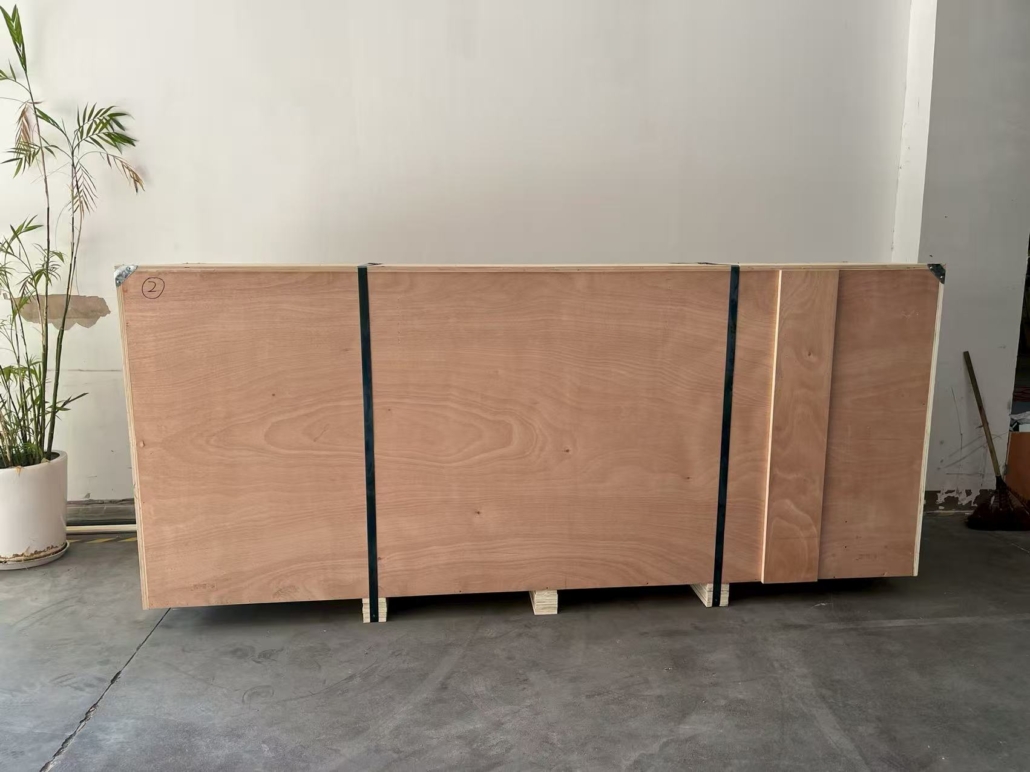
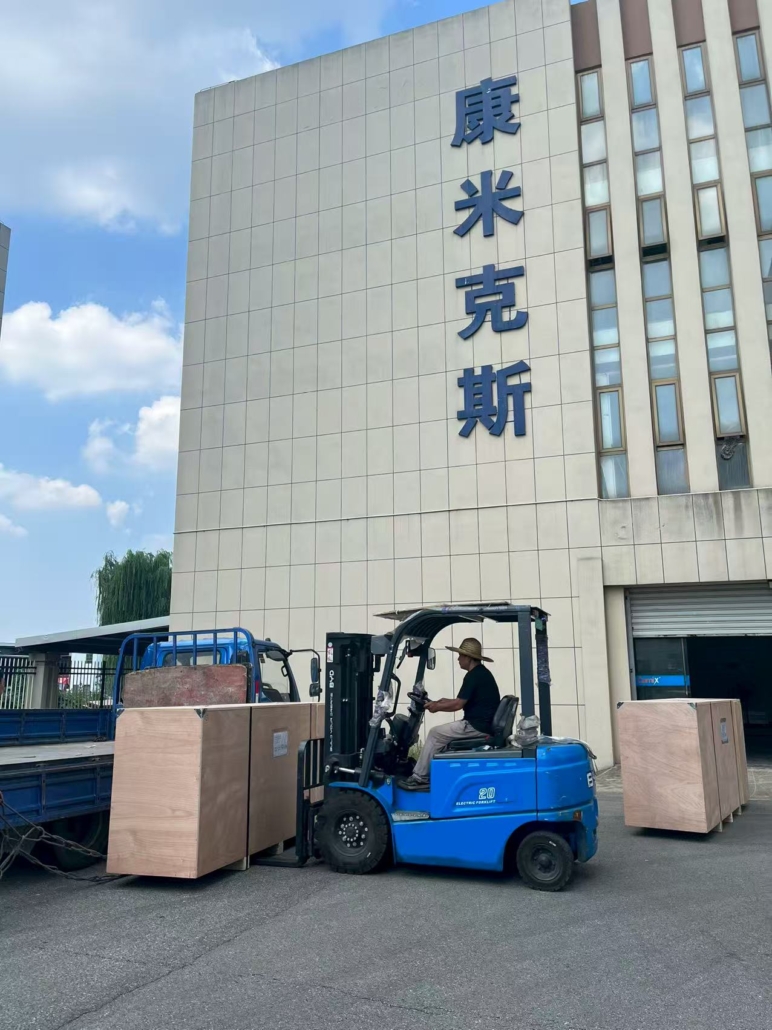
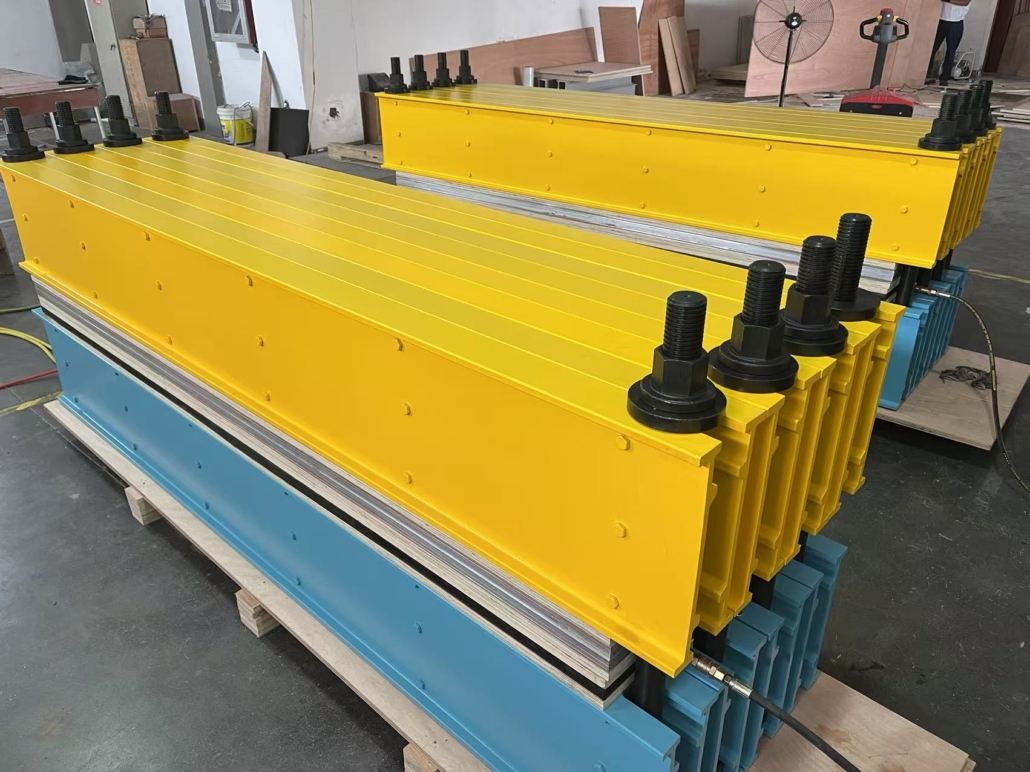
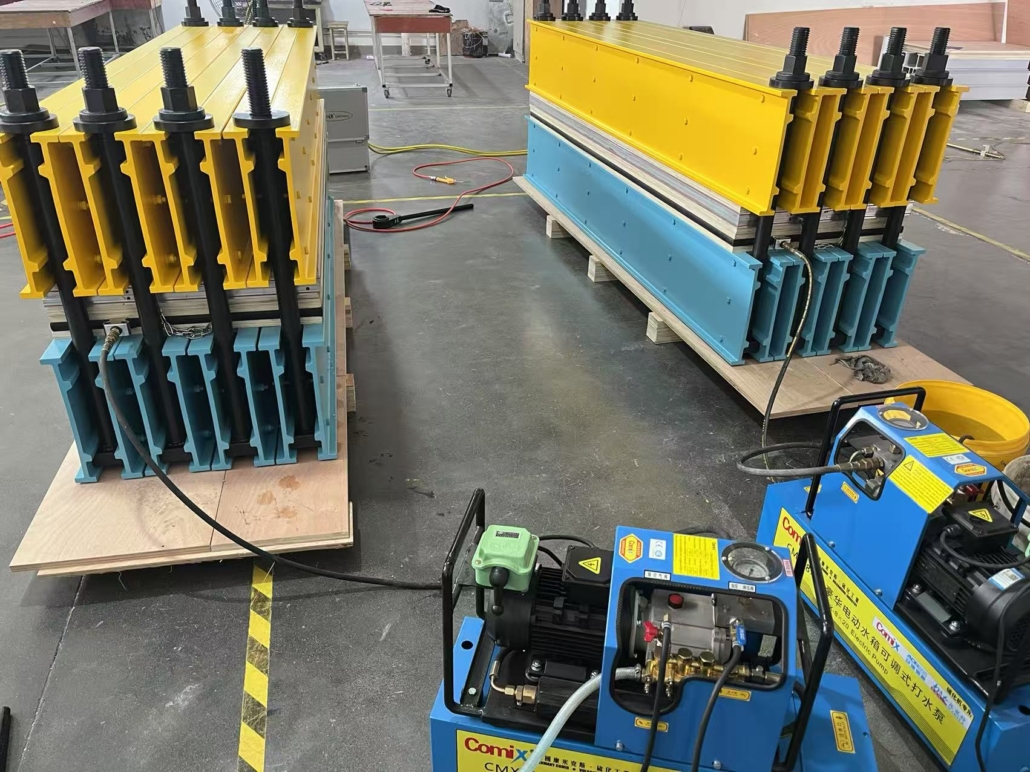
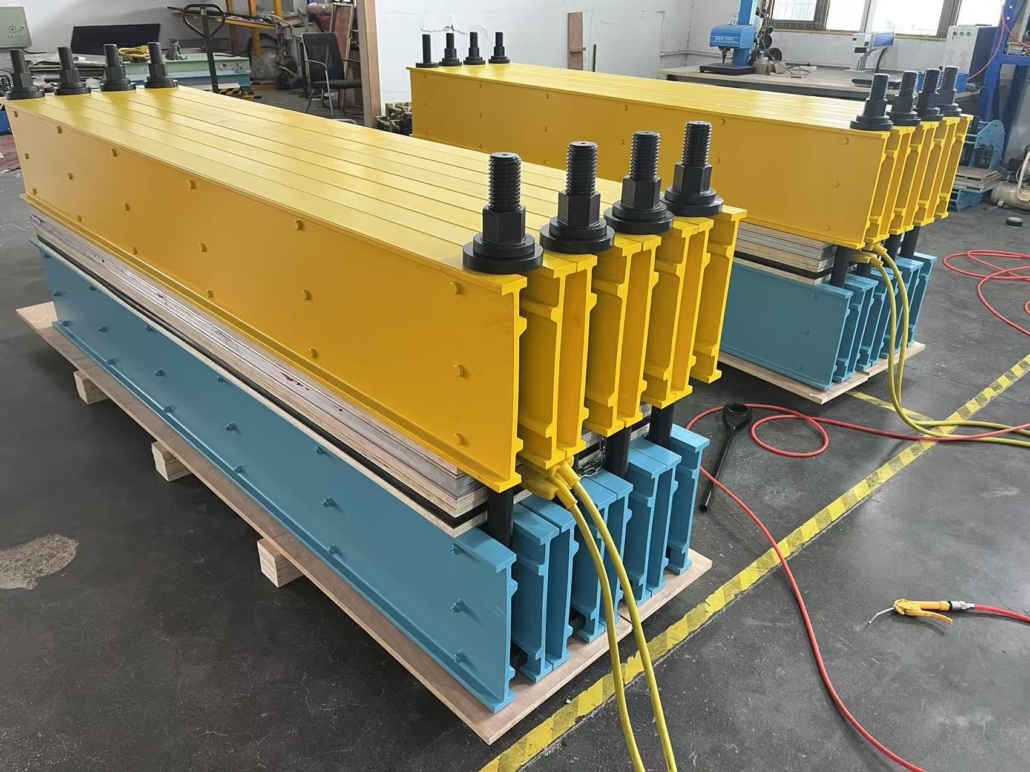
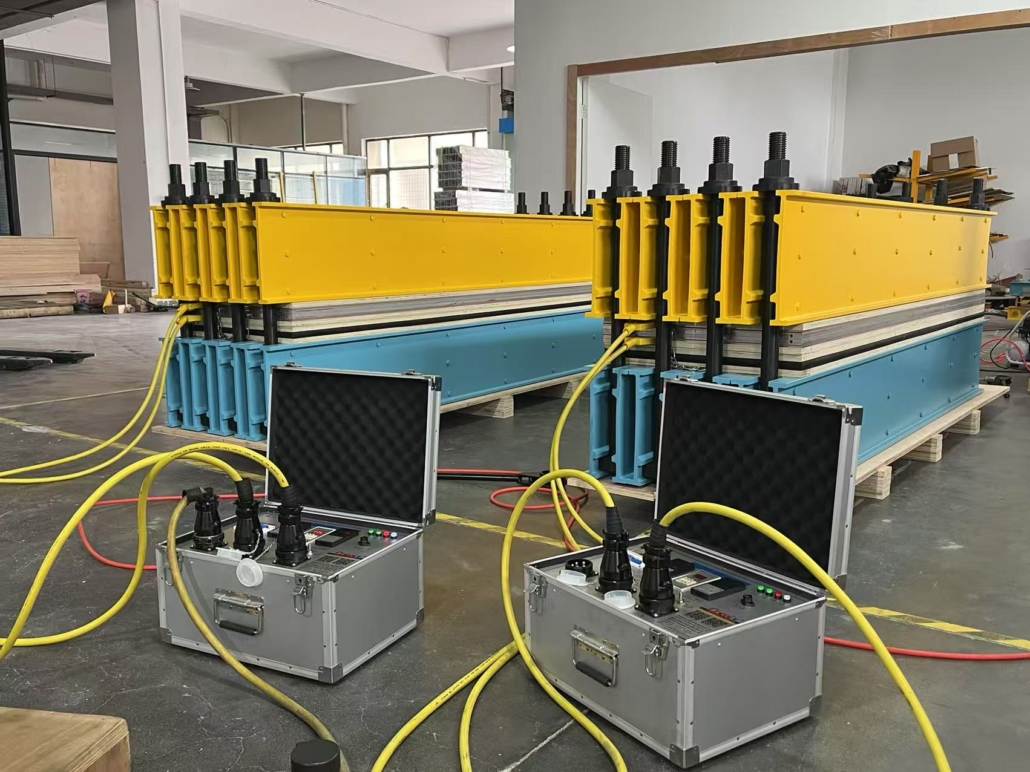
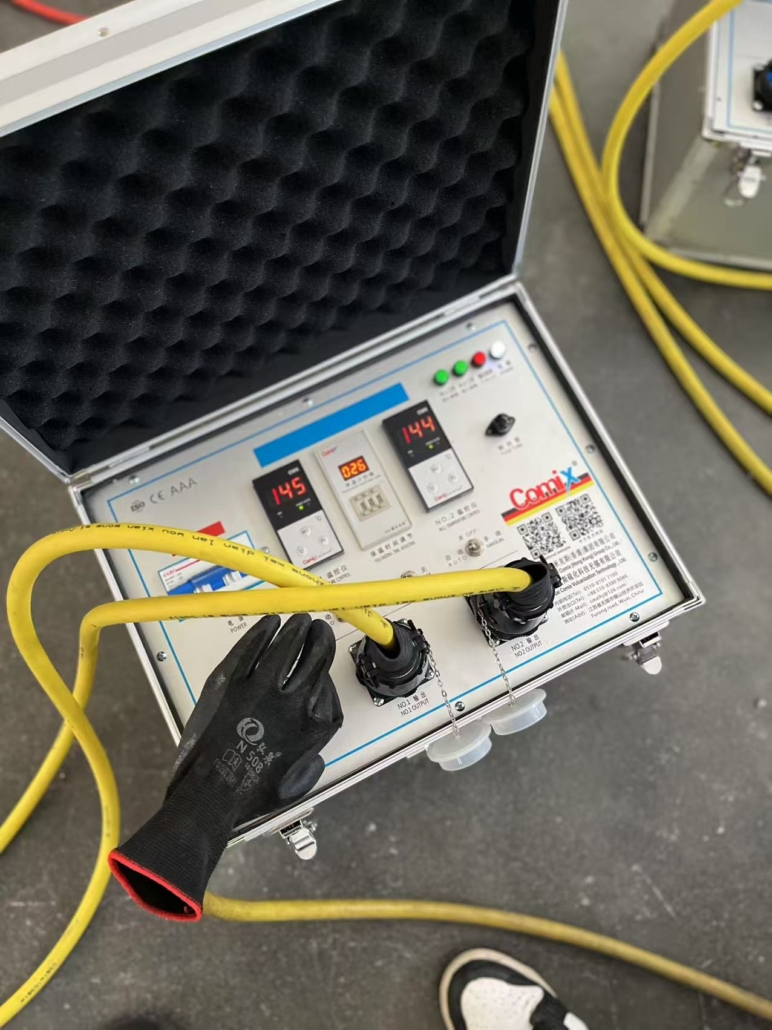
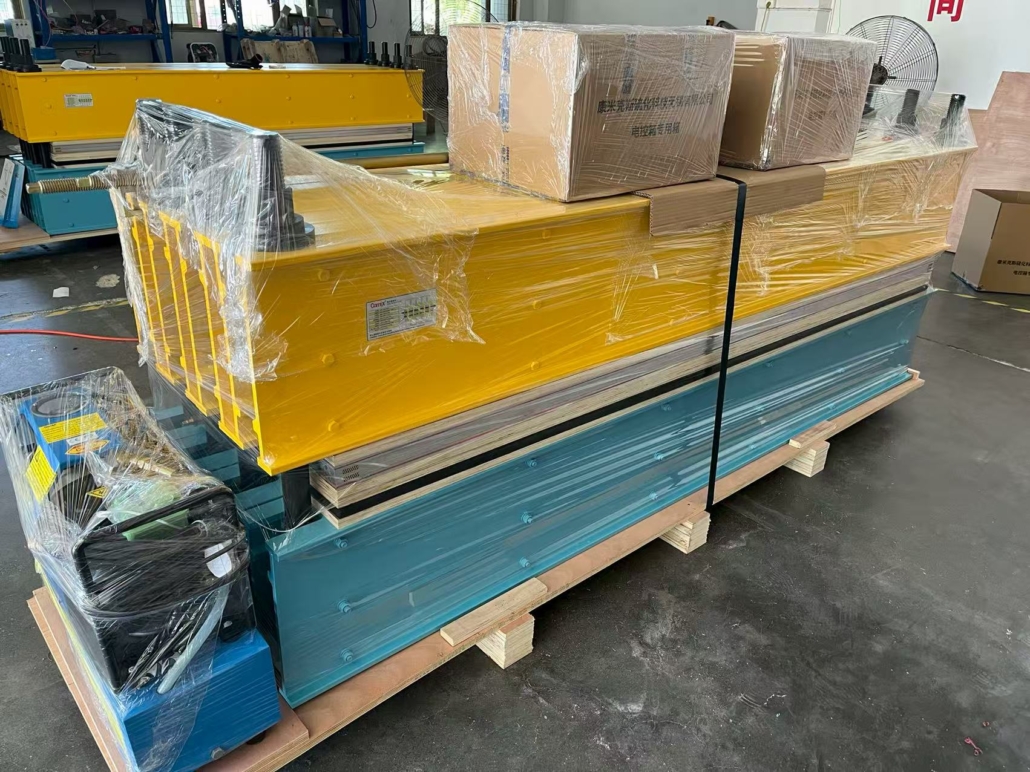
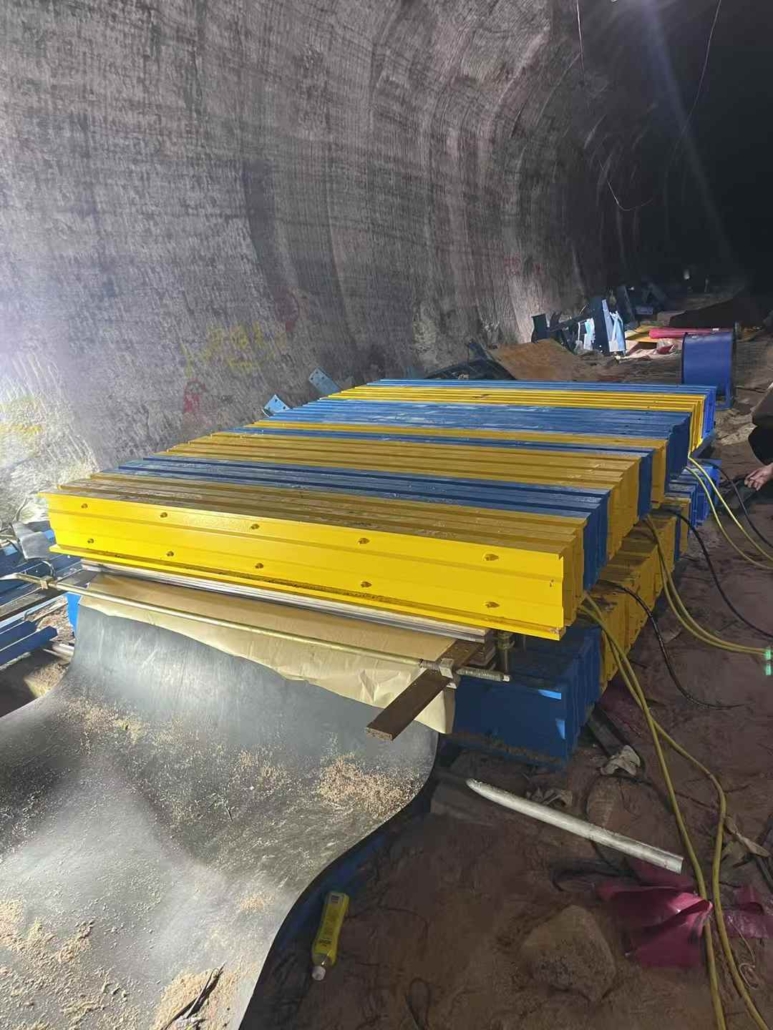
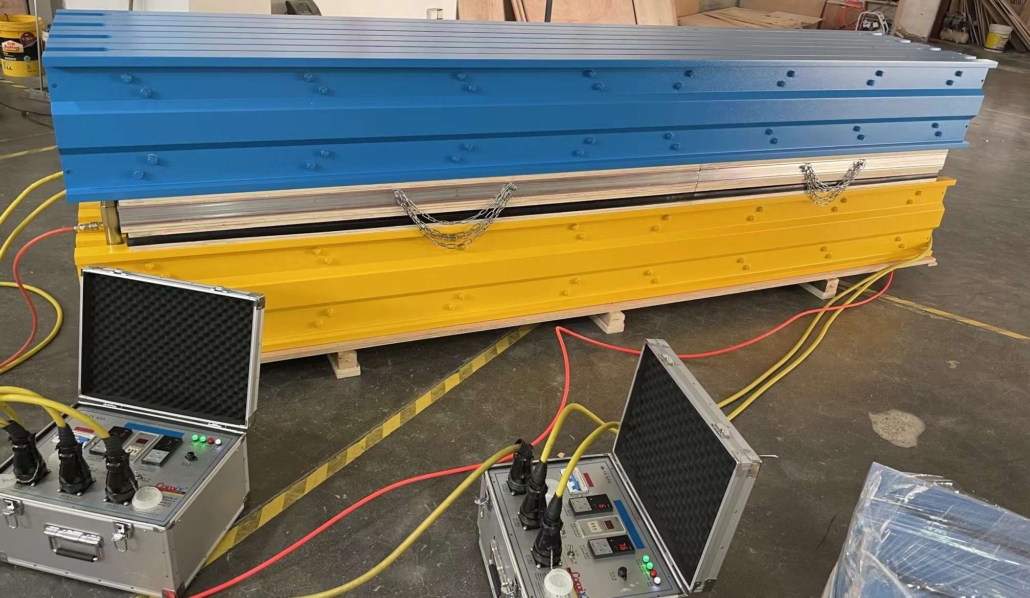
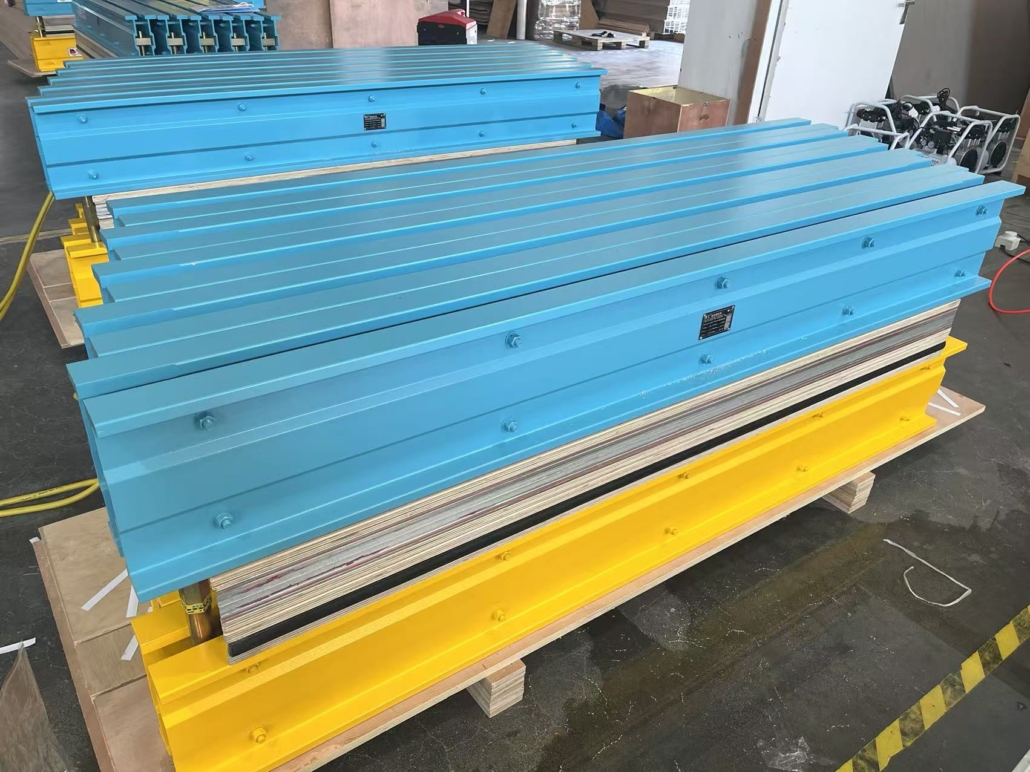
Two sets conveyor belt vulcanizing for 2200mm belt width have been manufactured and sent to Turkey customer. The machine is equipped with heating silicone element and rubber pressure bag. It takes about 8~10mins to cool down the vulcanizing temperature from 145℃. Very fast and is suitable for fast hot splicing on site, can help customer save time and labour. The heating plate size is 2400*650mm, with 90° bias angle. Two sets vulcanizing machine are used together to splice the steel cord conveyor belt.
If you are going to buy one set the conveyor belt vulcanizing machine in near future, you are welcome to contact us. We can provide you with professional proposal.
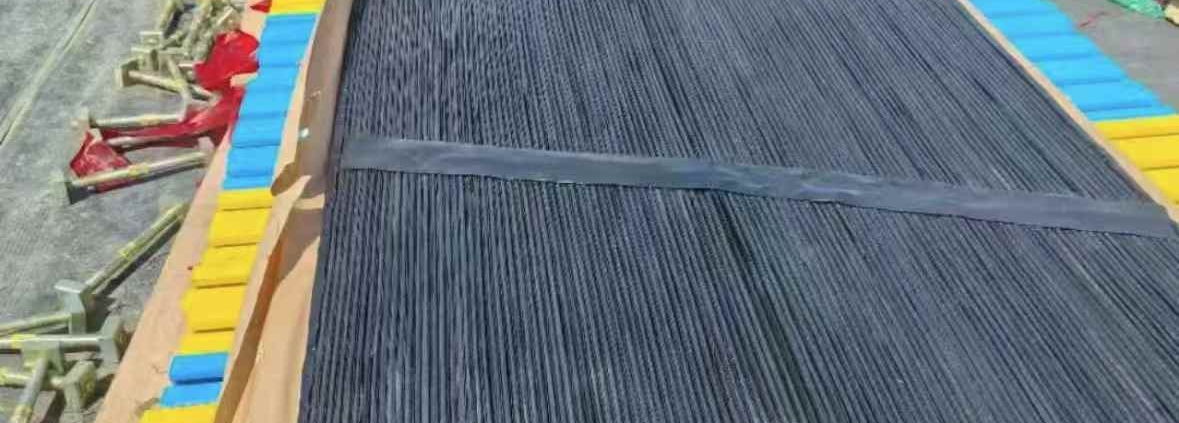
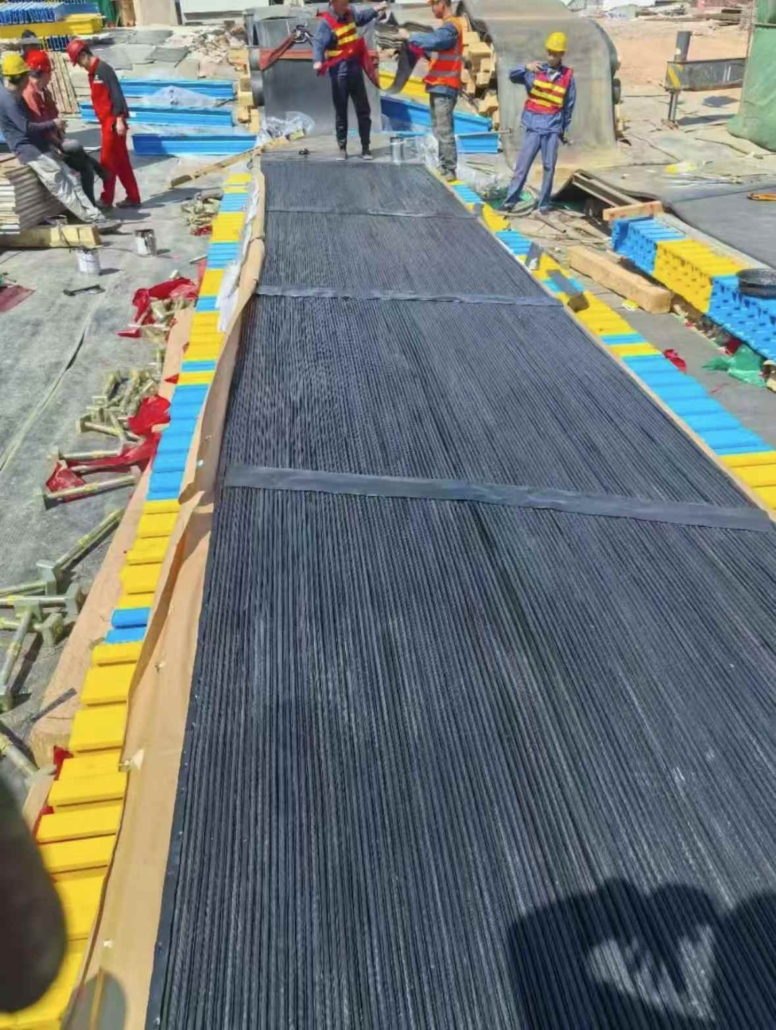
Possible Causes and Solutions for Bubbles in Belt Splices
The appearance of bubbles in belt splices (especially rubber conveyor belt splices) can severely compromise joint strength and durability. Below are potential causes and corresponding solutions:
I. Vulcanization Process Issues
1. Insufficient Vulcanization Temperature
– Cause: Temperature does not meet vulcanization requirements (typically 145-155℃)
– Manifestation: Incomplete vulcanization of internal rubber
– Solution: Calibrate the vulcanizer’s temperature sensor to ensure proper temperature
2. Insufficient Vulcanization Time
– Cause: Vulcanization time is shorter than material requirements
– Manifestation: Surface appears vulcanized, but internal bubbles remain
– Solution: Adjust vulcanization time based on belt thickness
3. Unstable Pressure
– Cause: Insufficient or fluctuating vulcanizer pressure
– Manifestation: Irregular bubble distribution
– Solution: Inspect the pressure system to maintain consistent pressure
One set conveyor belt vulcanizer for 1000mm belt width has been produced and delivered to Iran customer. The machine is equipped with heating silicone element and rubber pressure bag. It takes about 5~8mins to cool down the vulcanizing temperature from 145℃。 The heating plate size is 1228*1060mm, with 20° bias angle. The machine voltage is 380V, 3Phase. The machine weight is about 670Kg. The total power is about 15Kw.
If you are looking for the conveyor belt vulcanizing machine, you are welcome to contact us. We are professional manufacturer of the vulcanizing machine for more than 15 years.
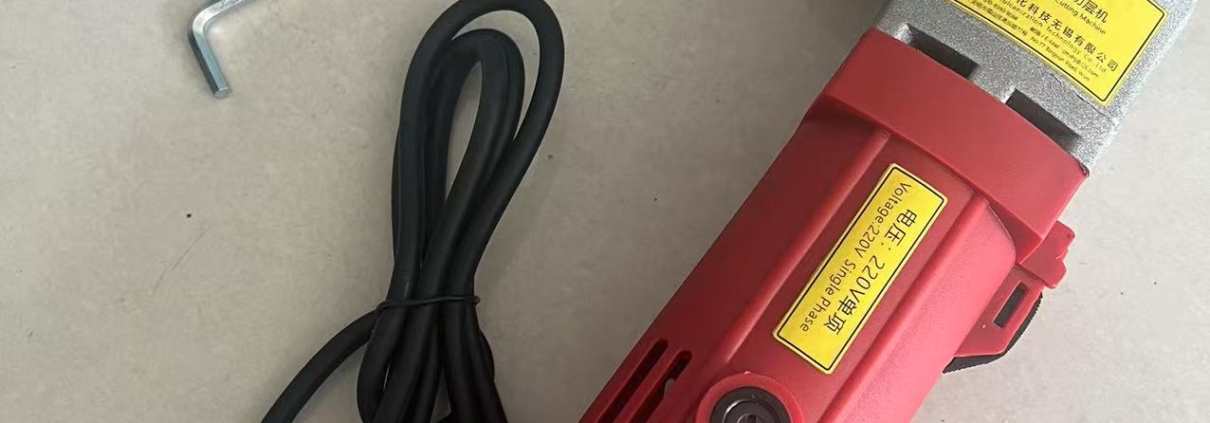
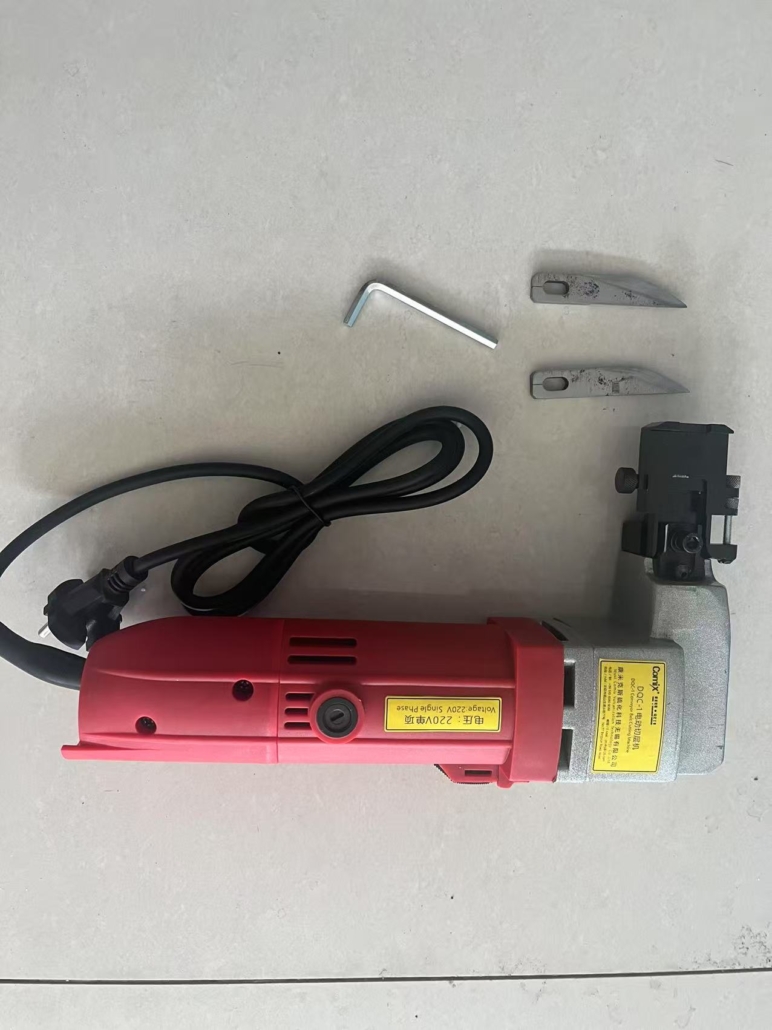
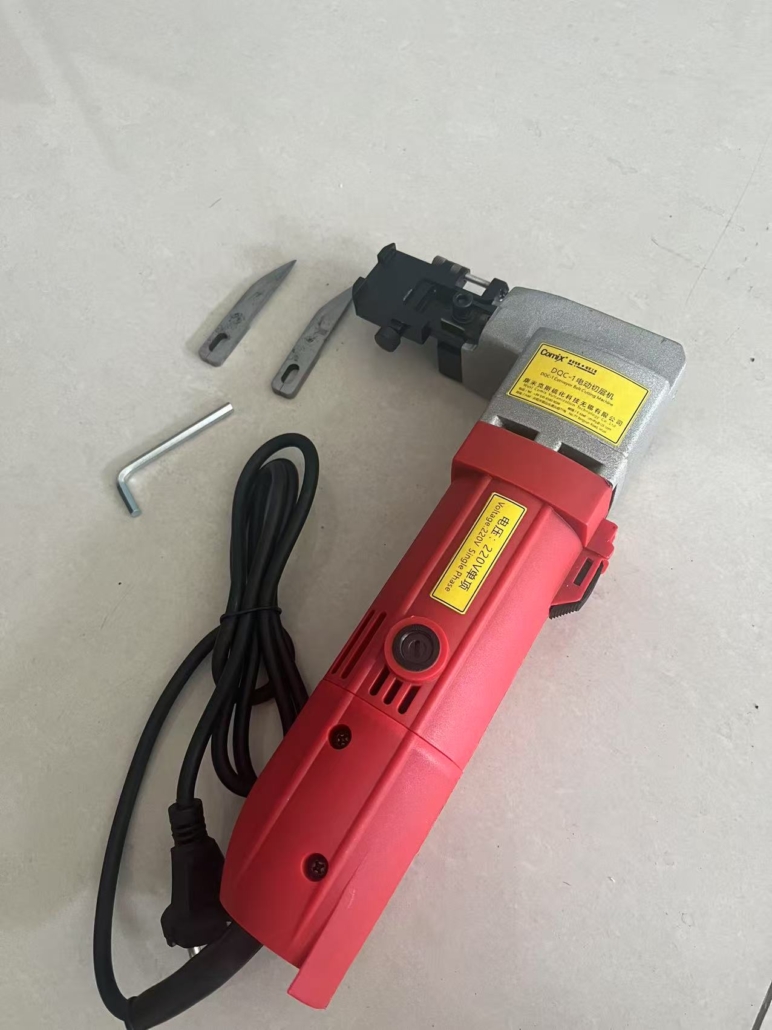
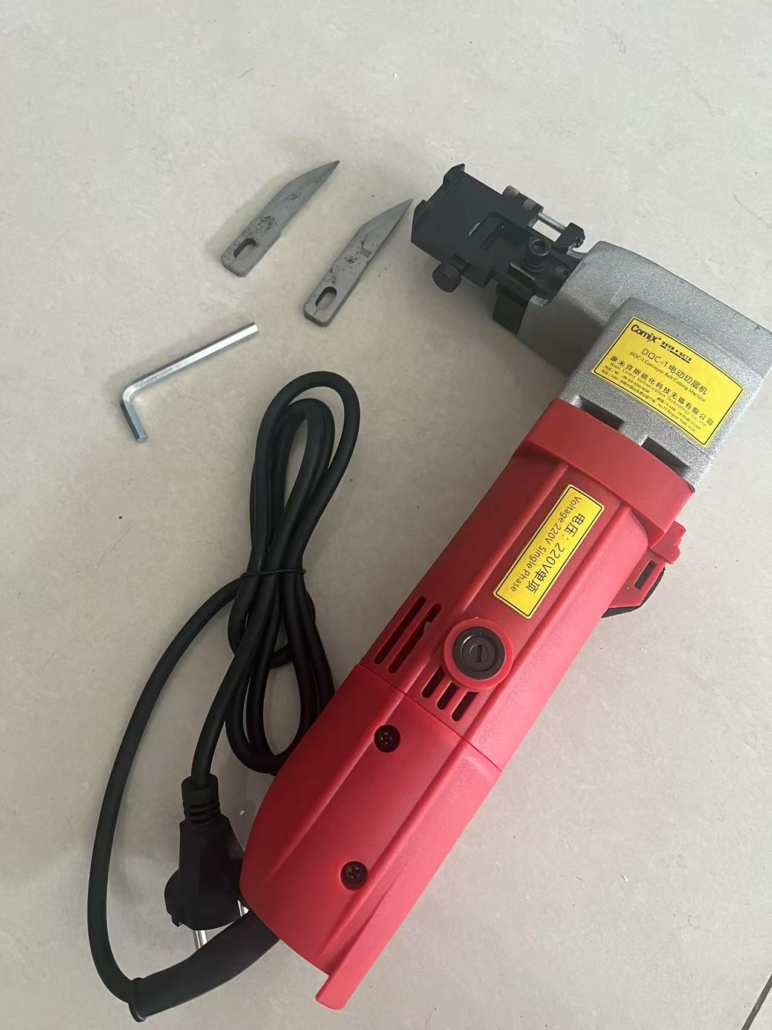
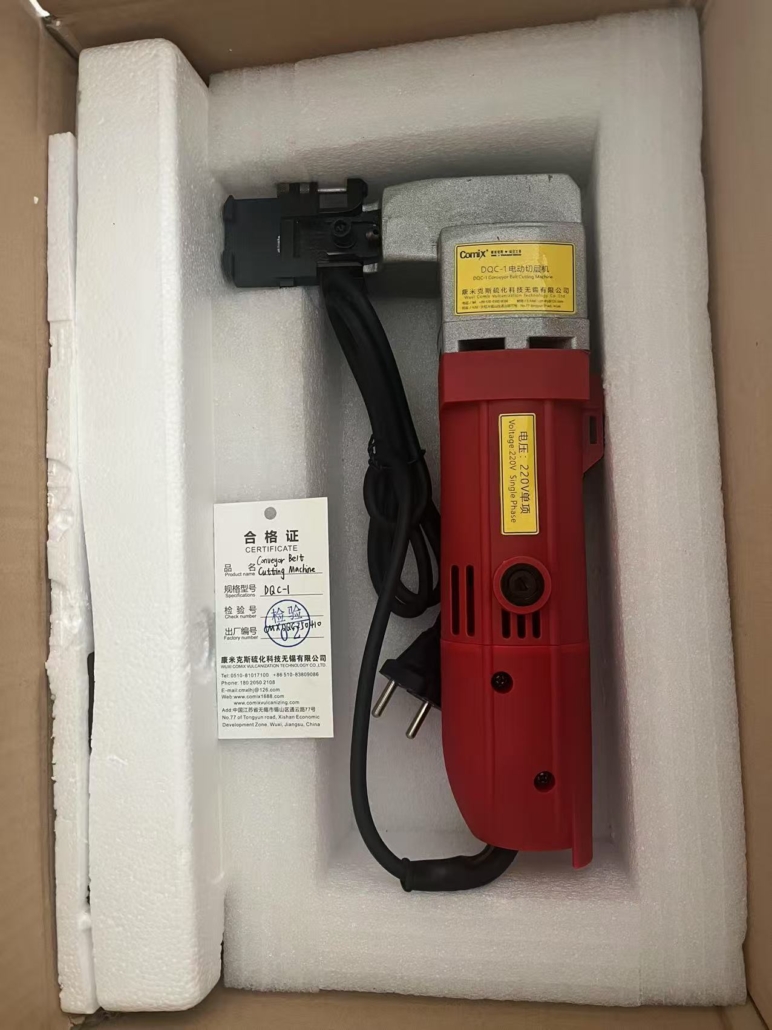
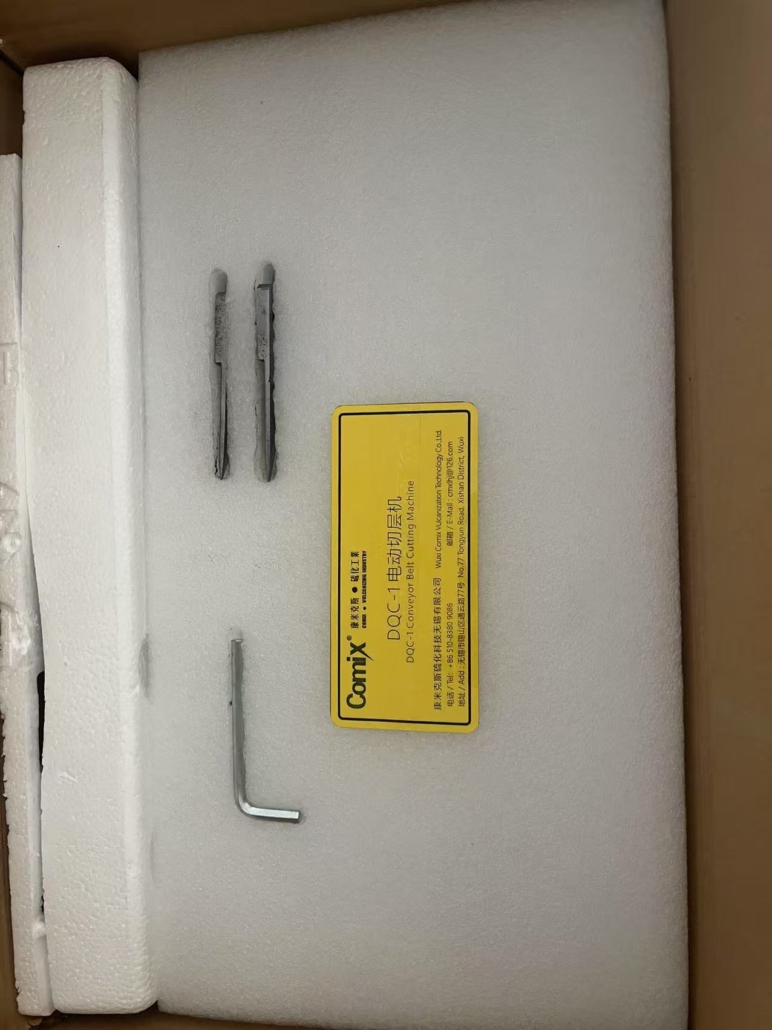
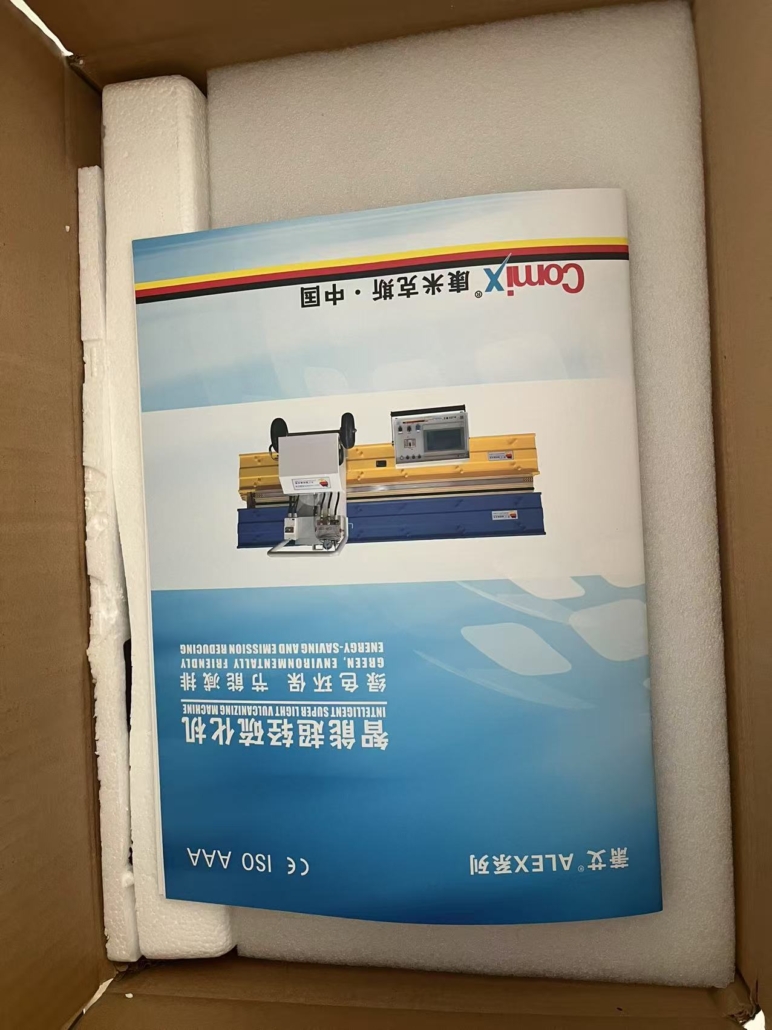
One set conveyor belt cutting machine is exported to Norway. The electric tool is used for cutting the rubber conveyor belt. The voltage is 220V, single phase. If you are interested, feel free to contact us.
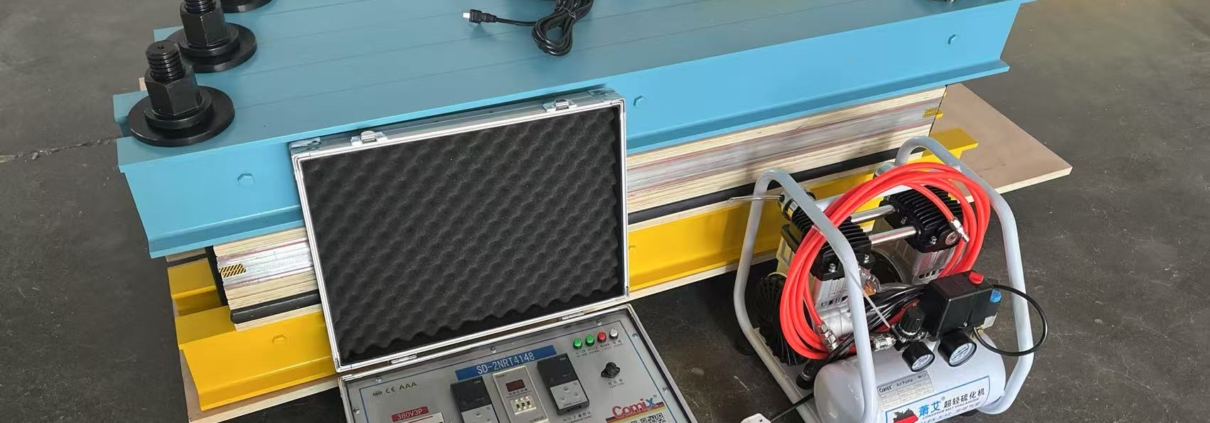
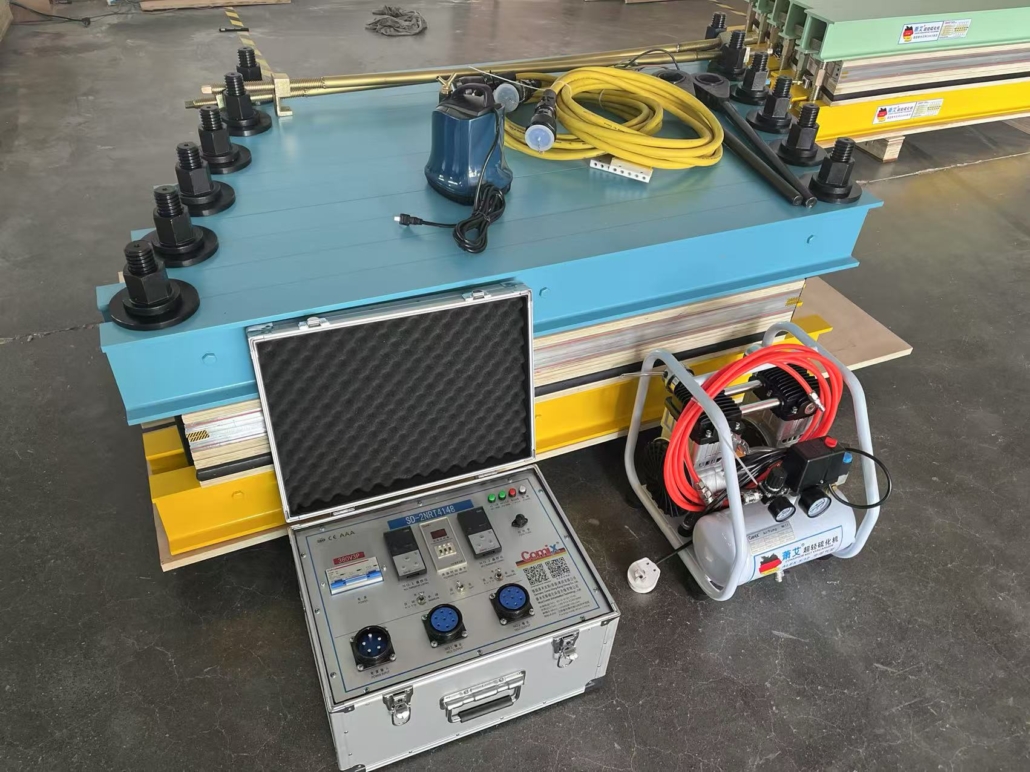
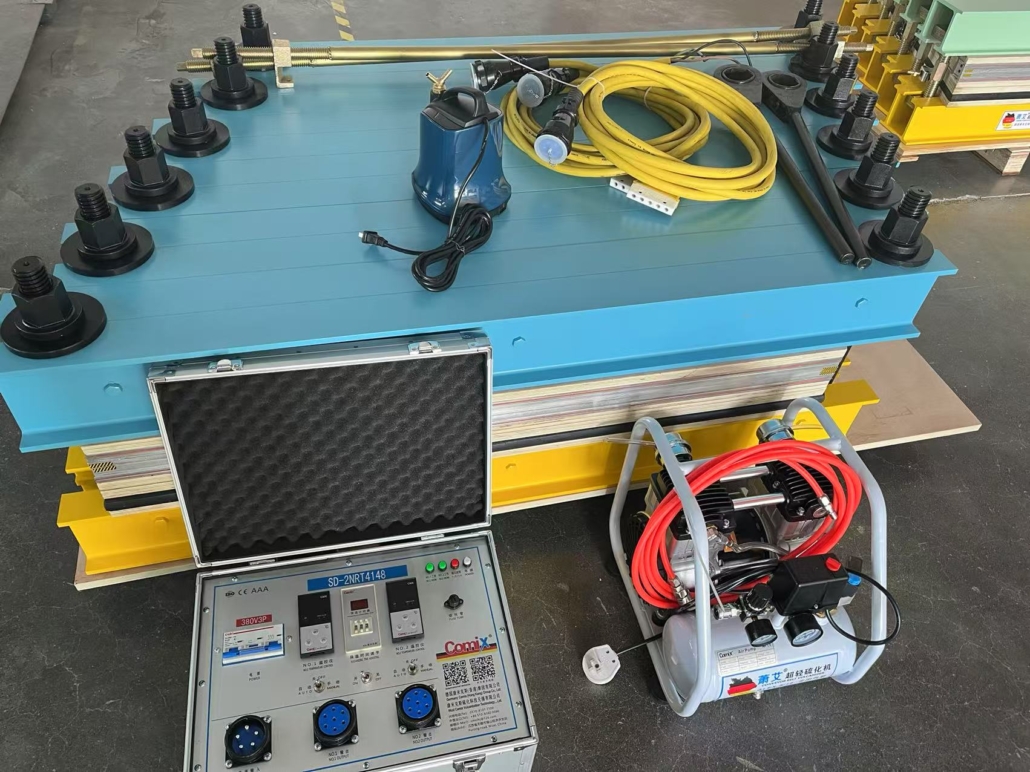
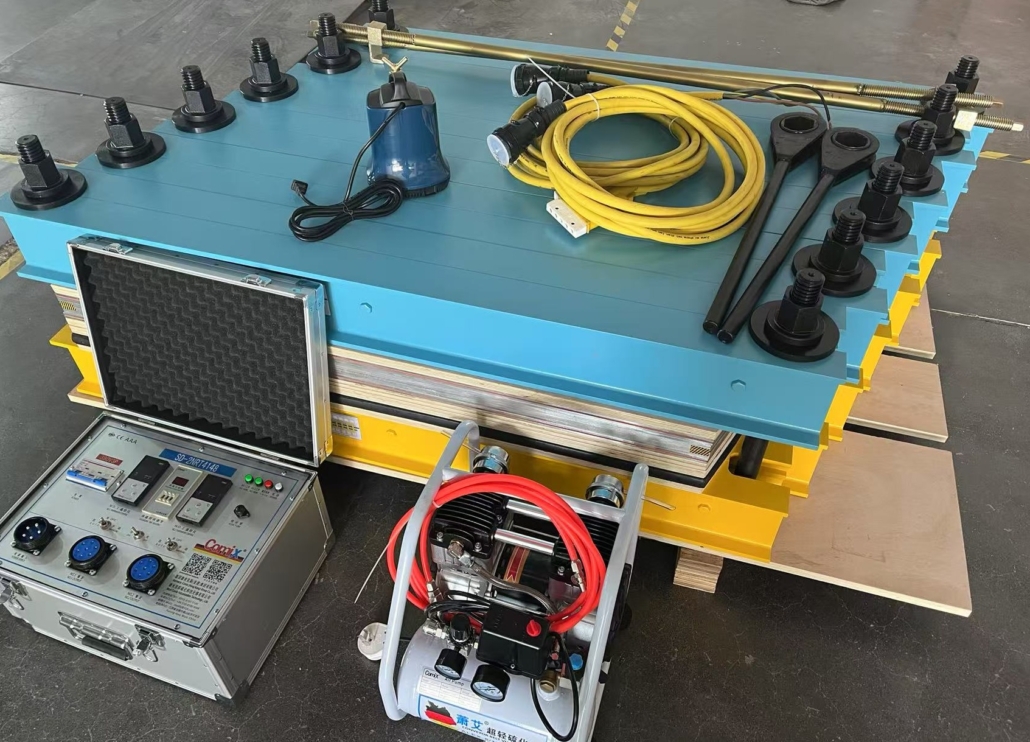
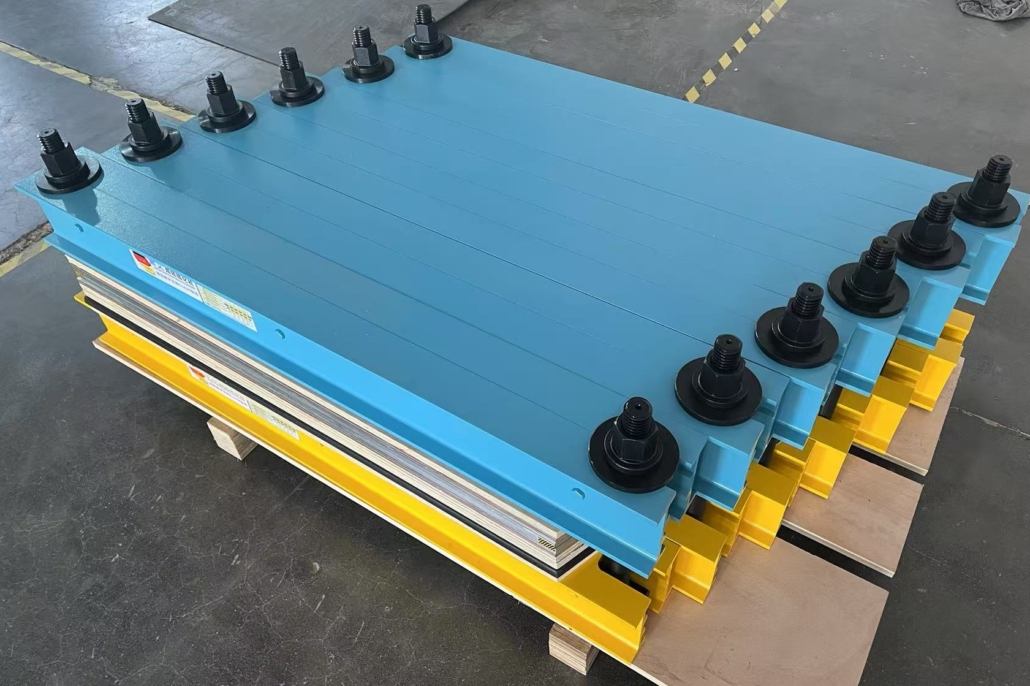
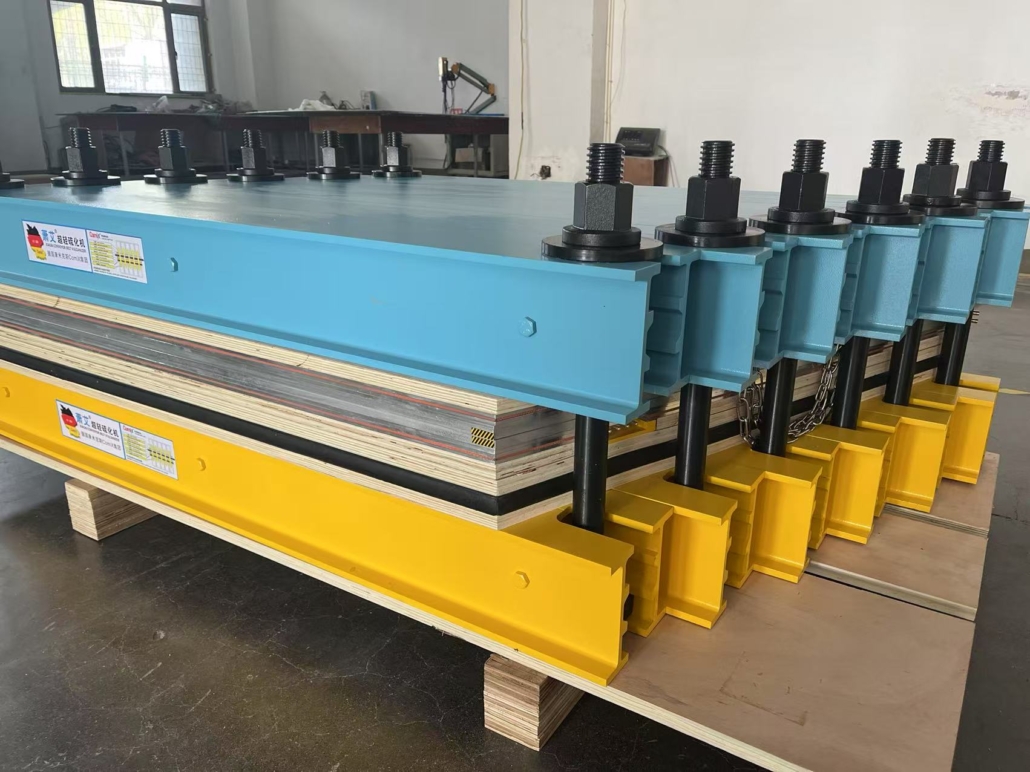
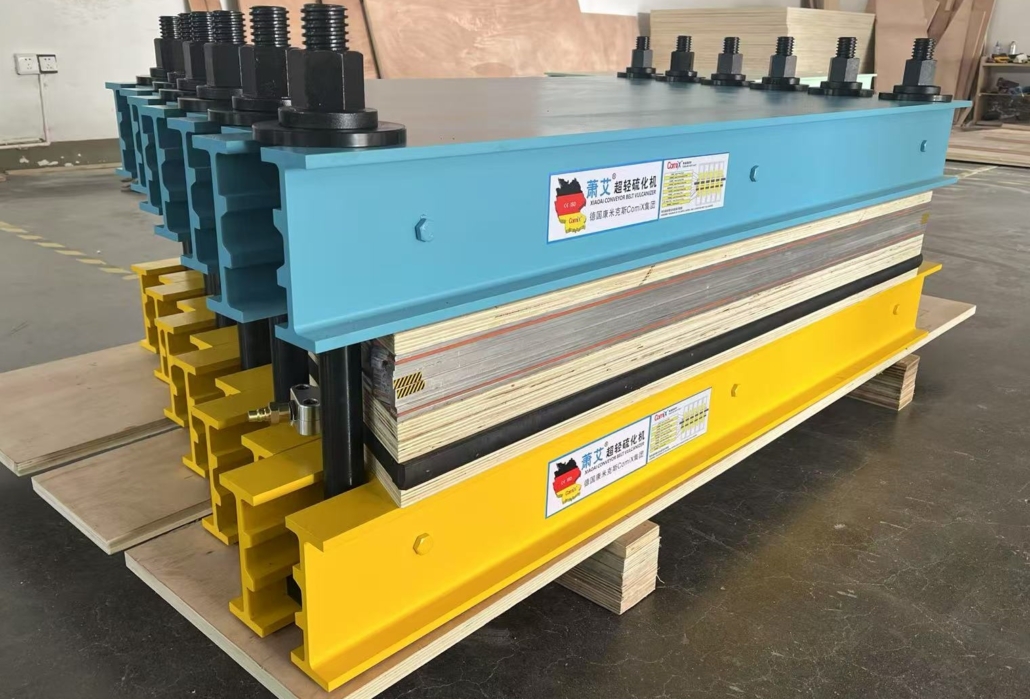
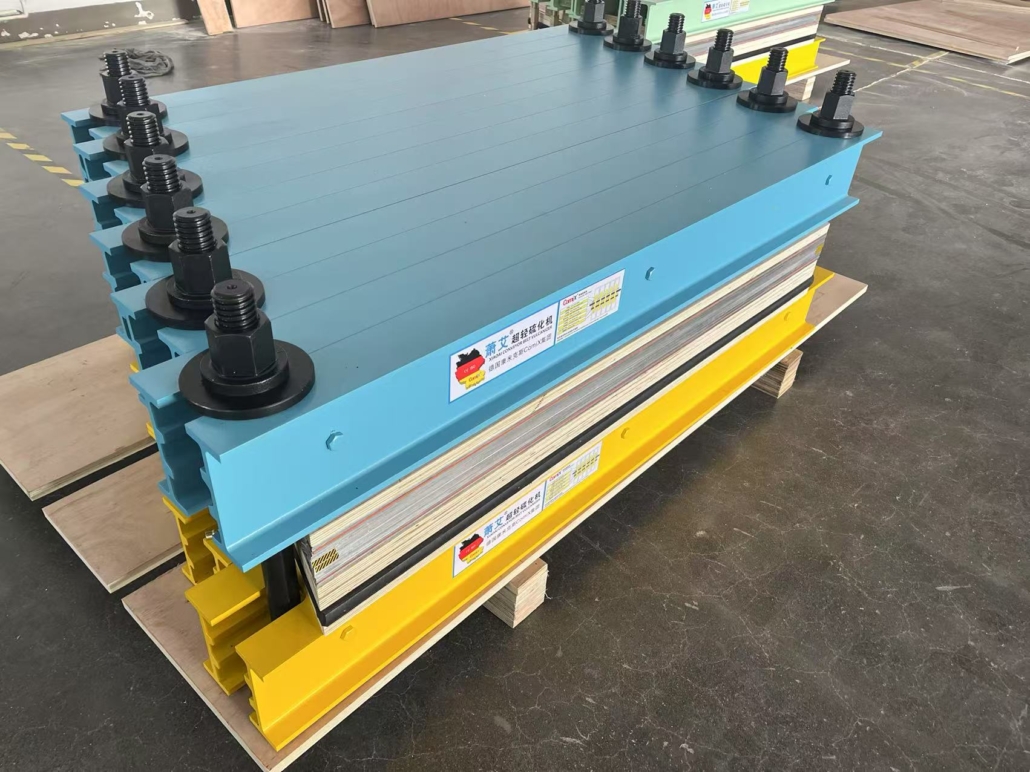
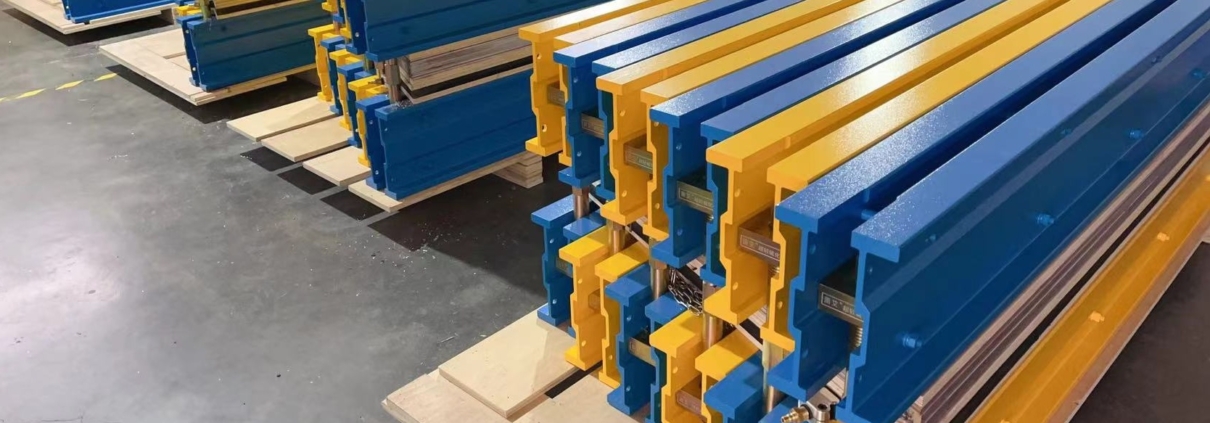
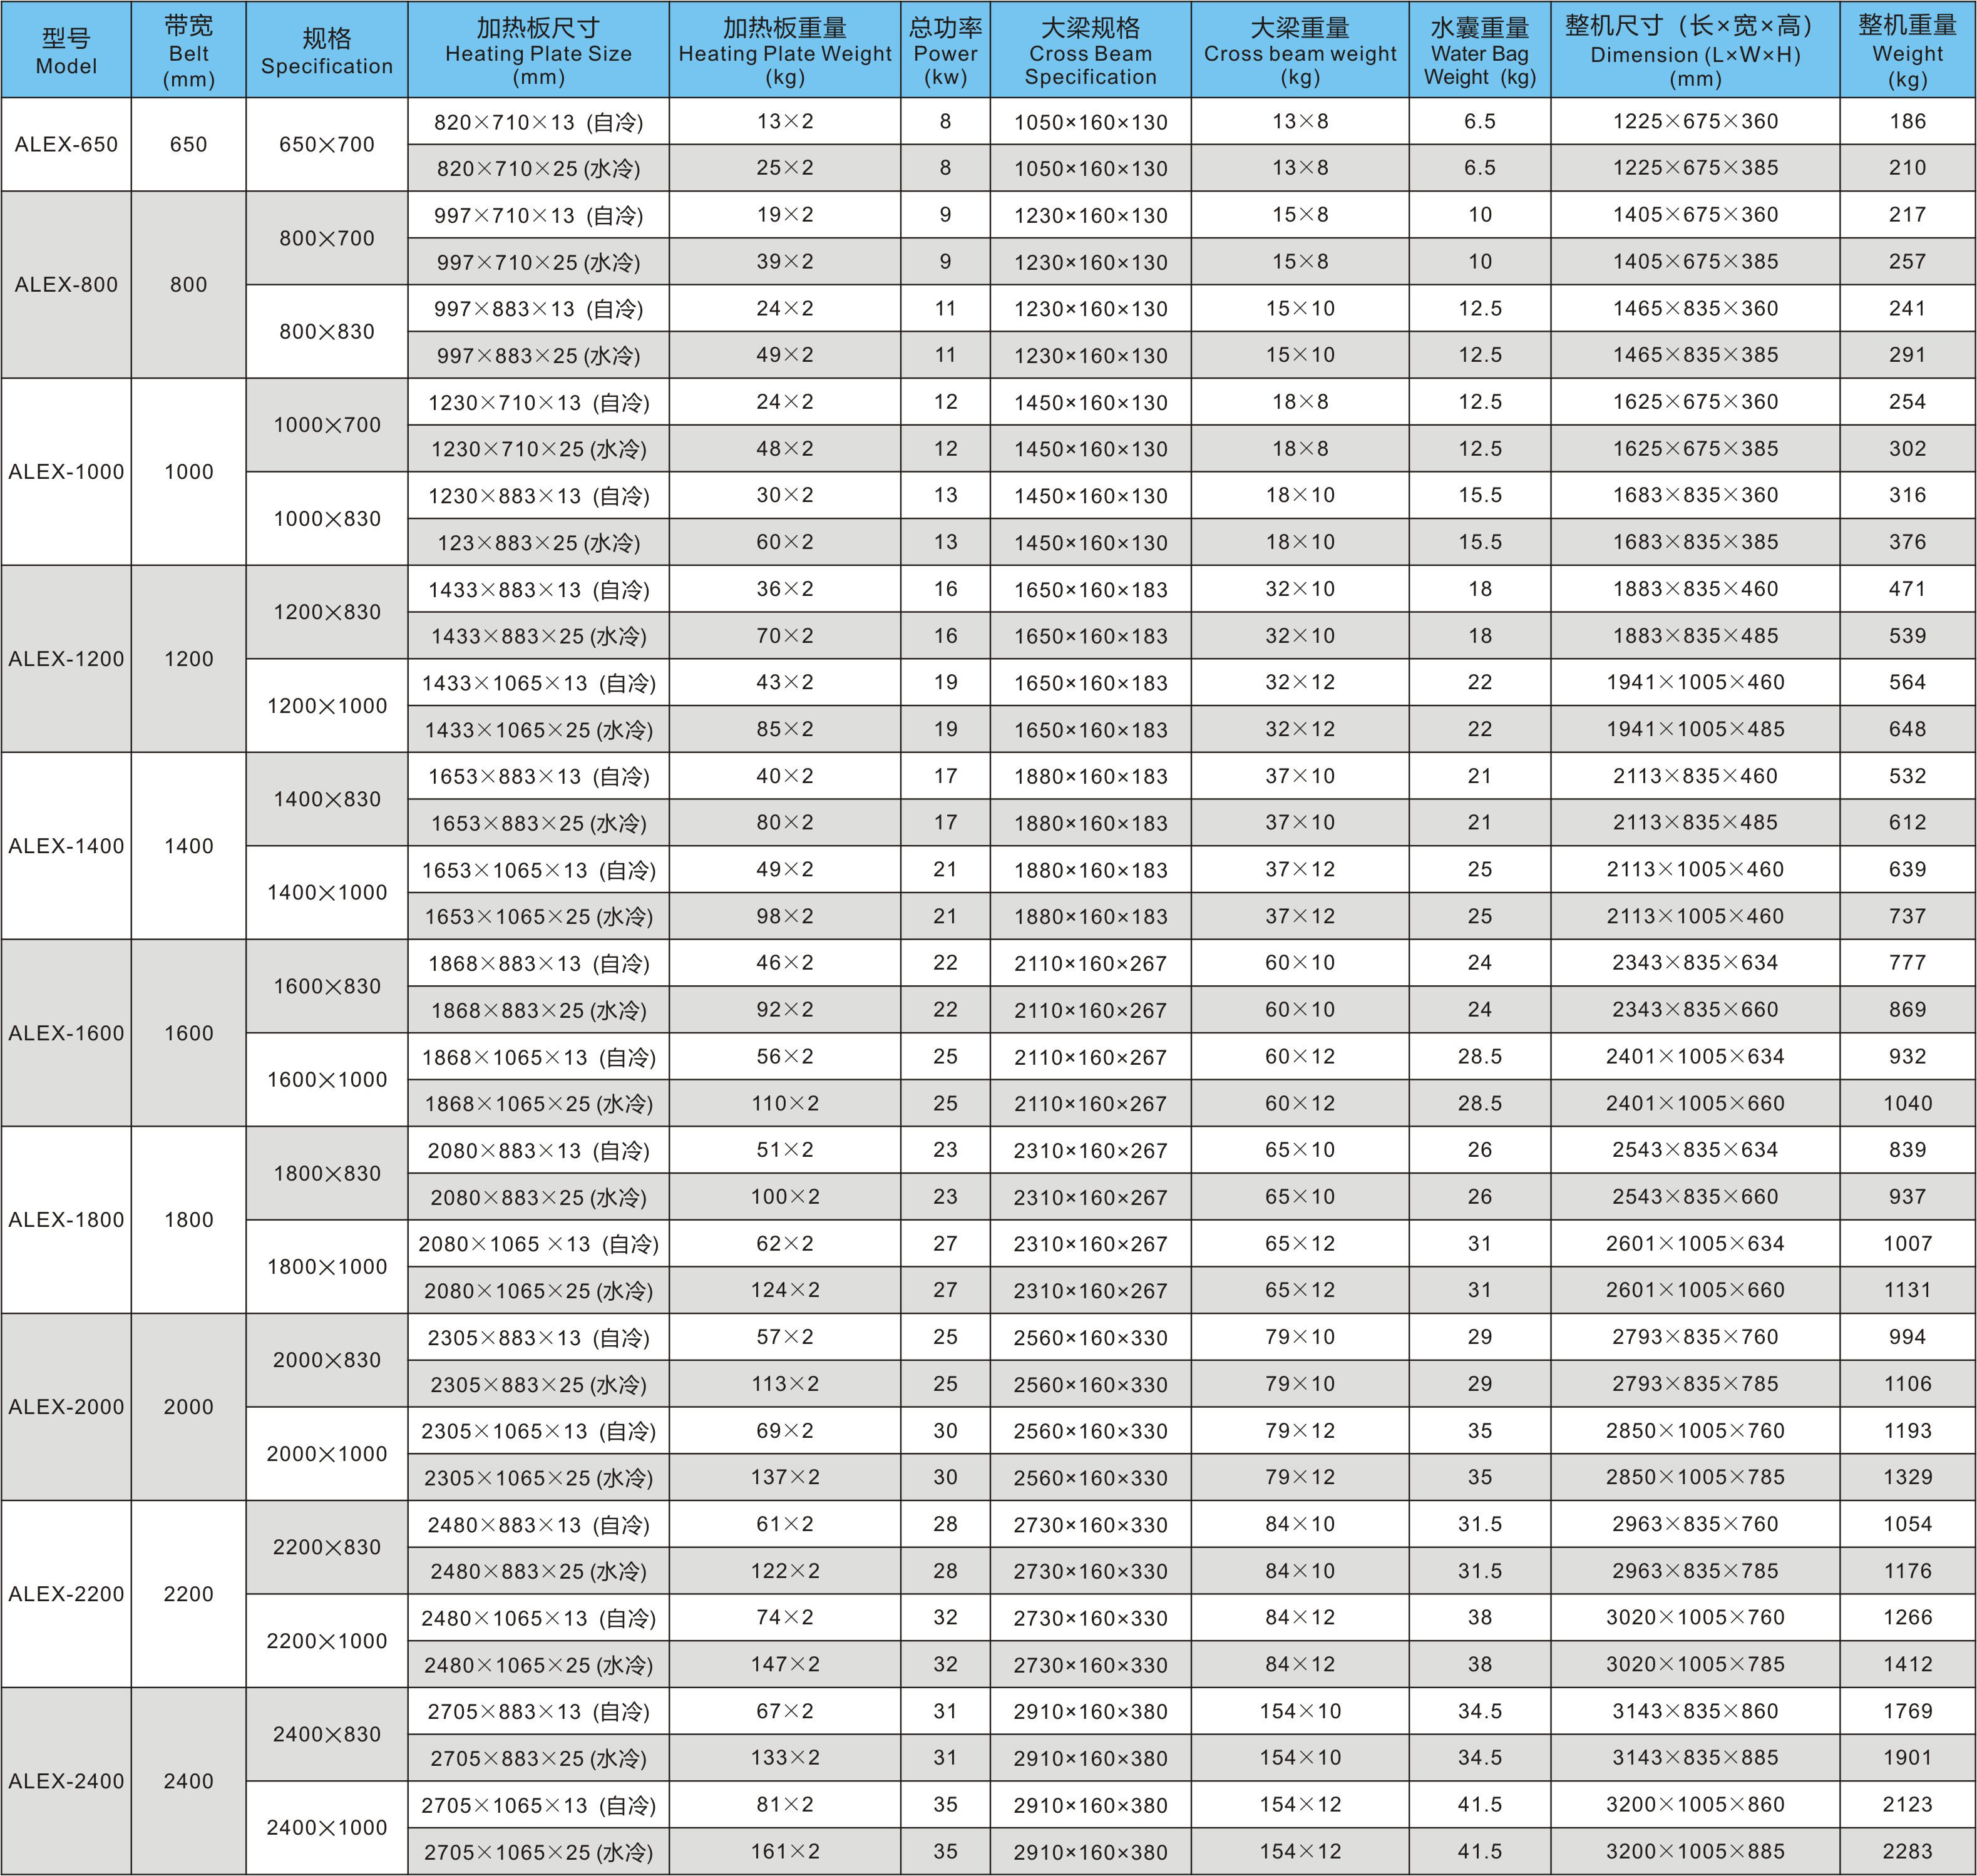
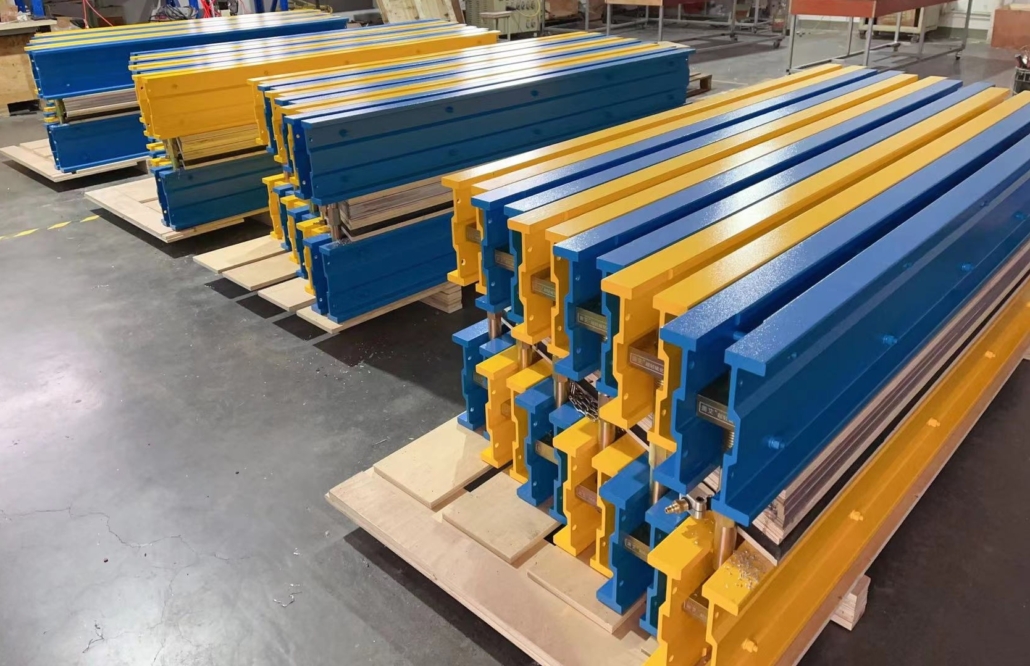
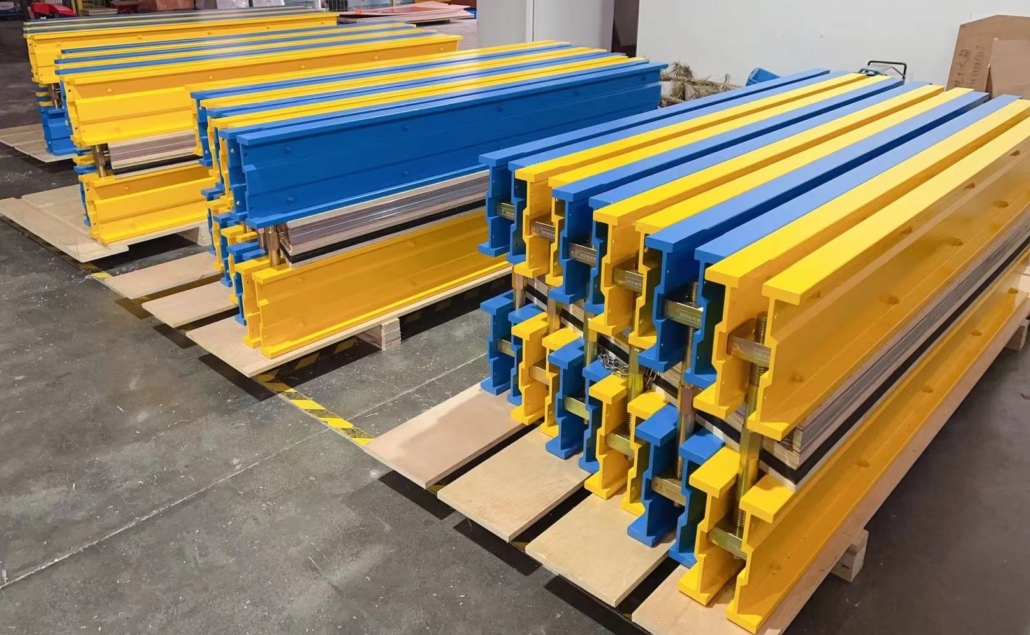
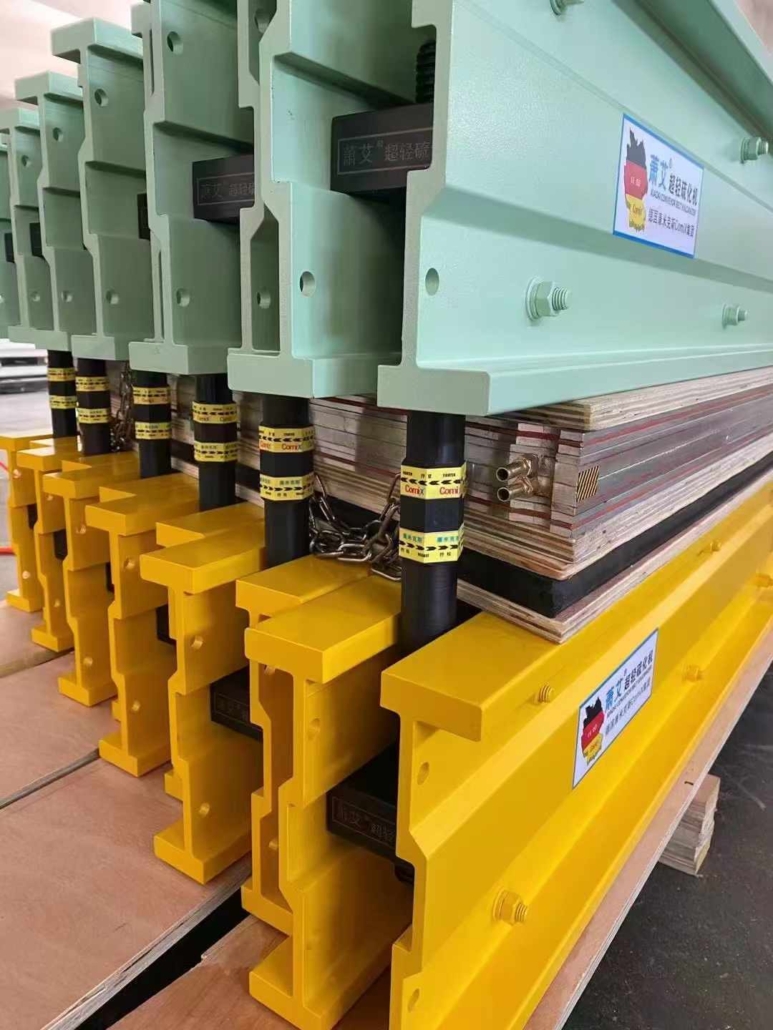
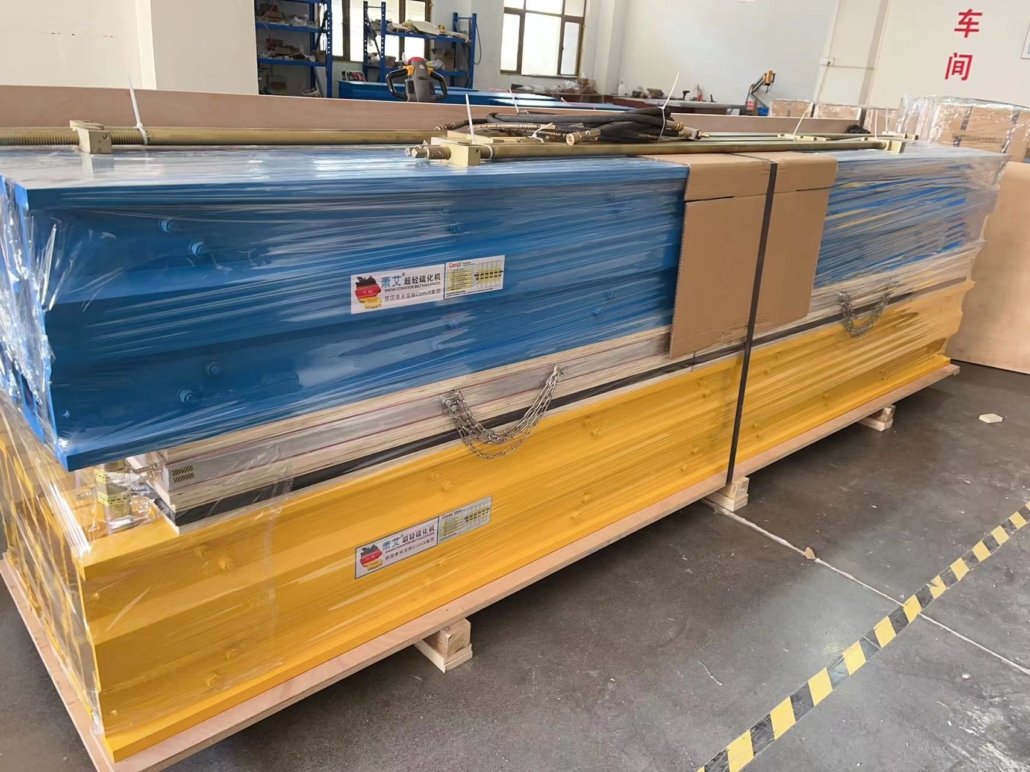
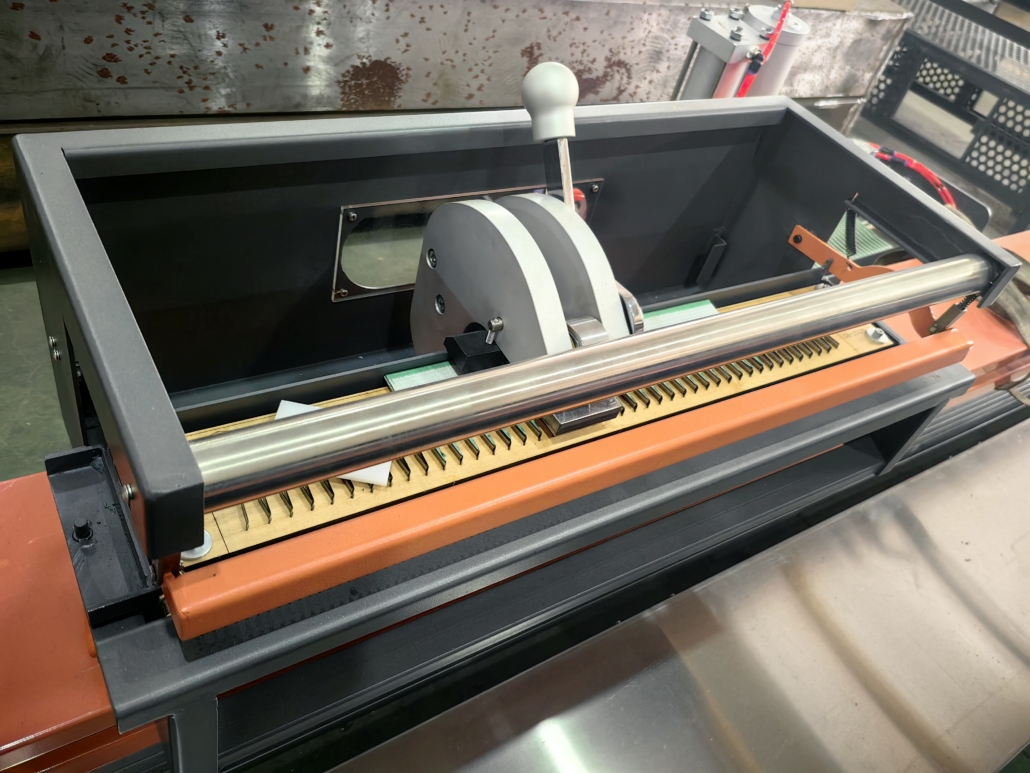
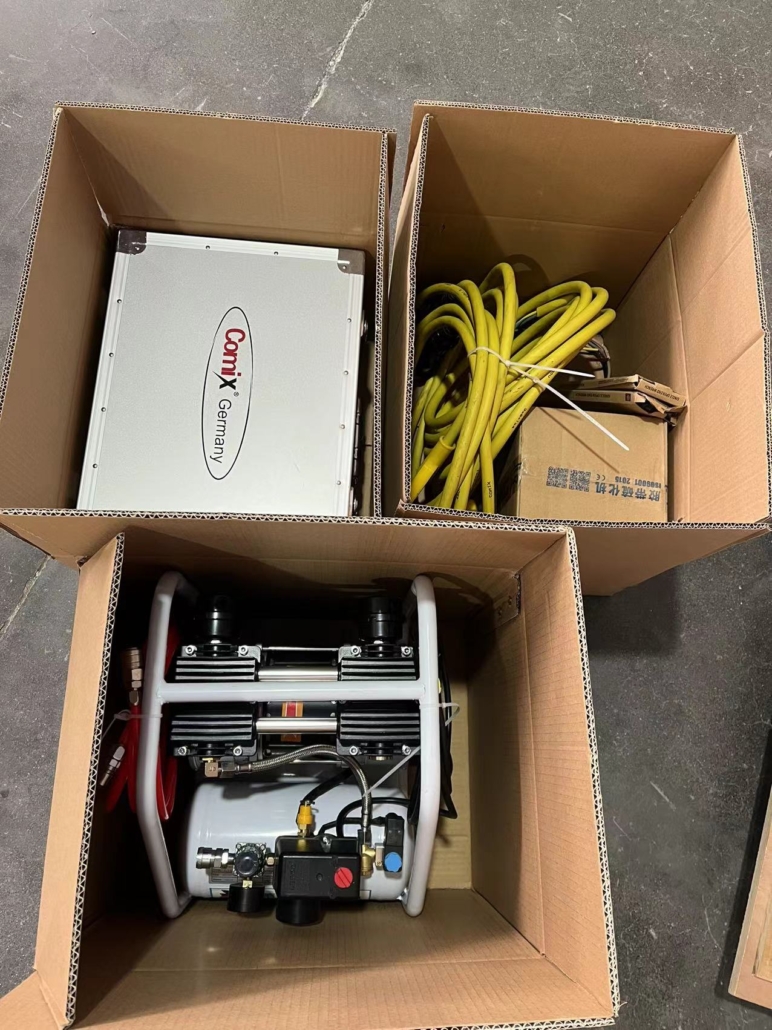
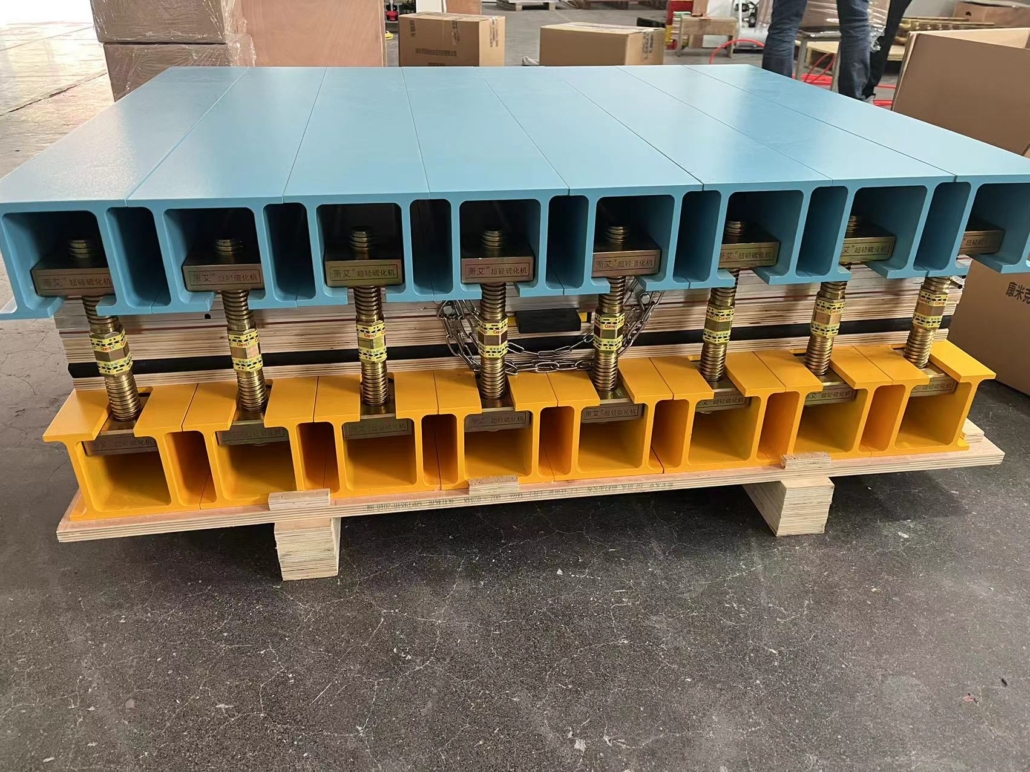
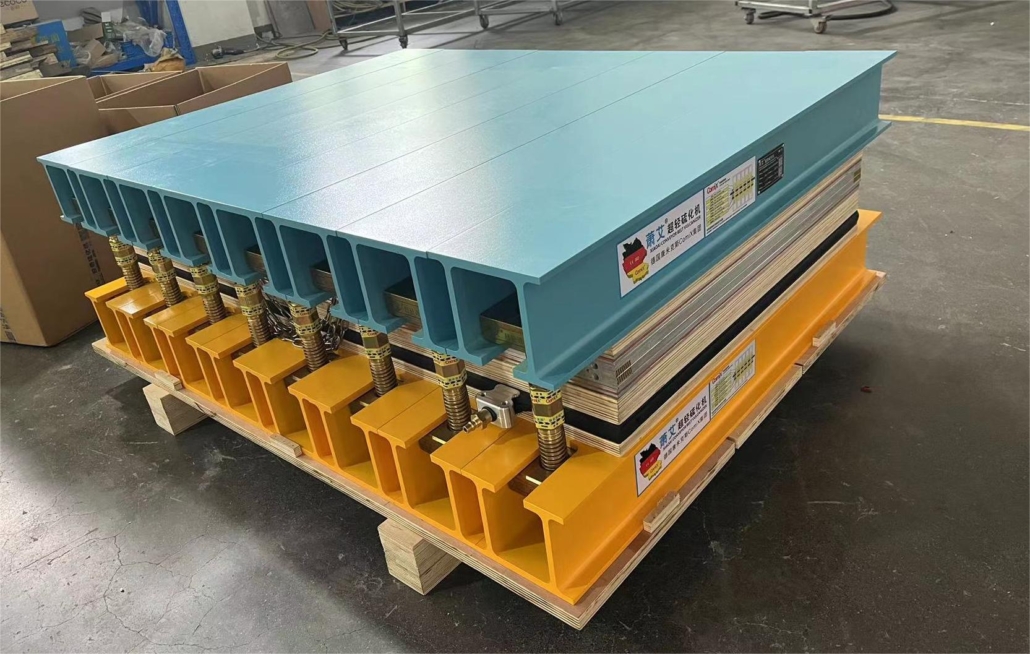
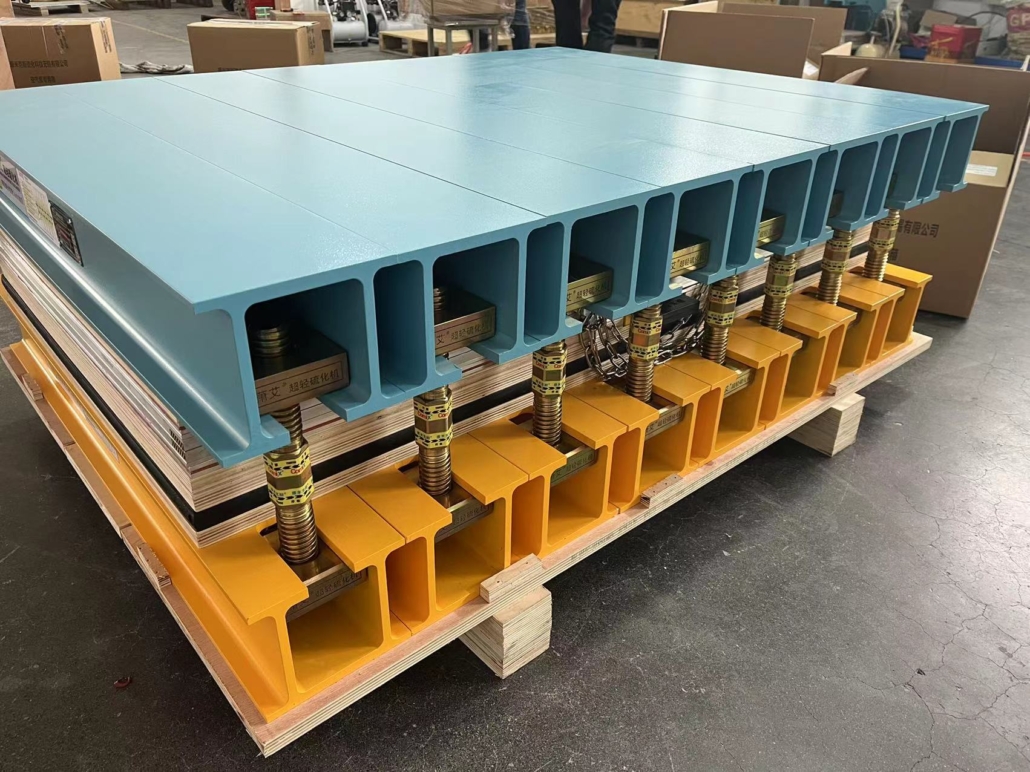
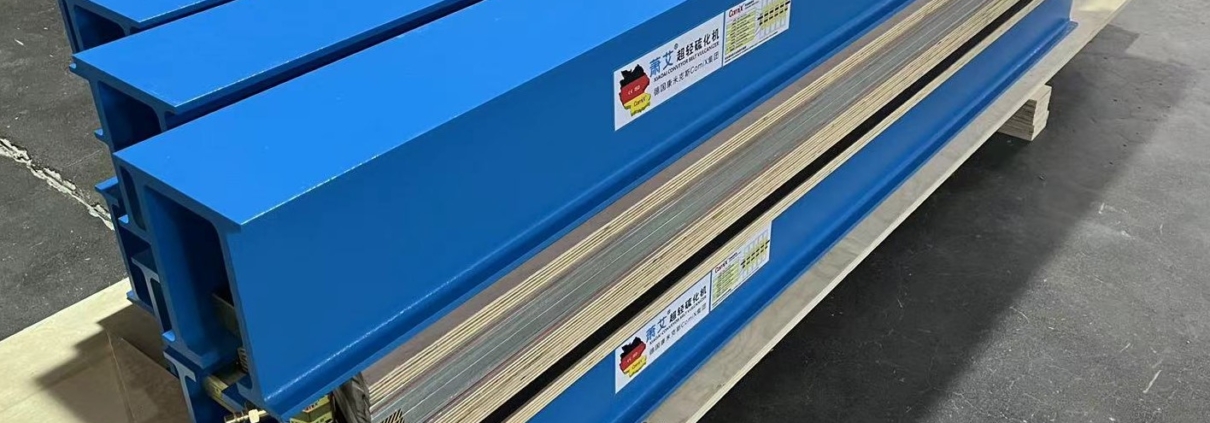
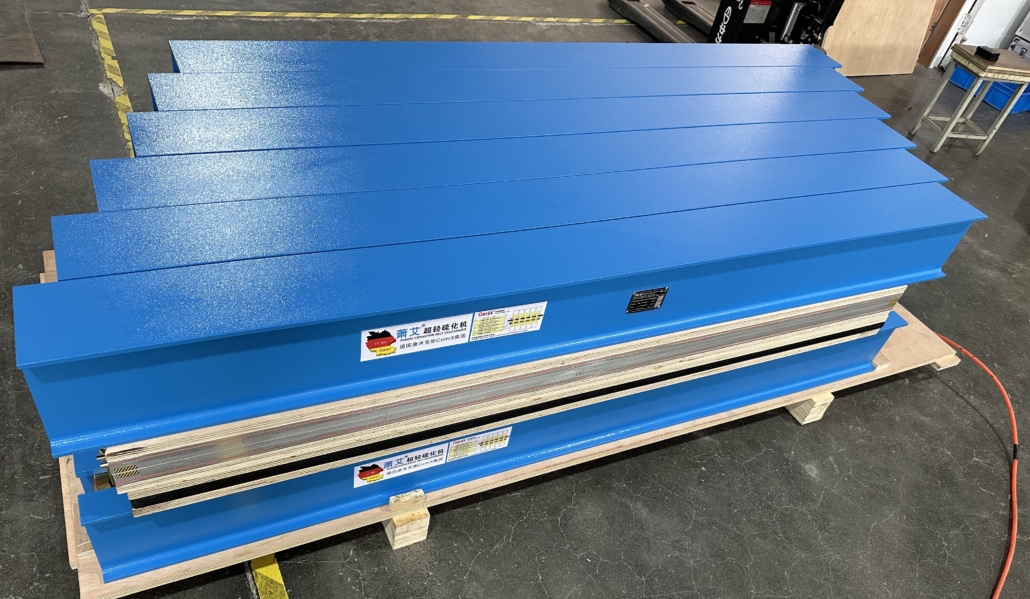
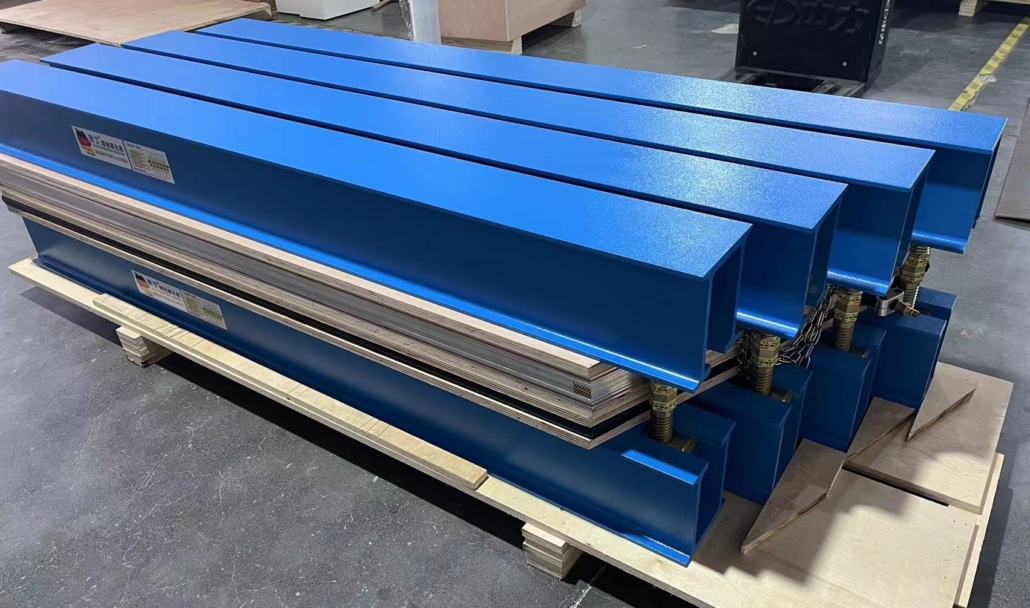
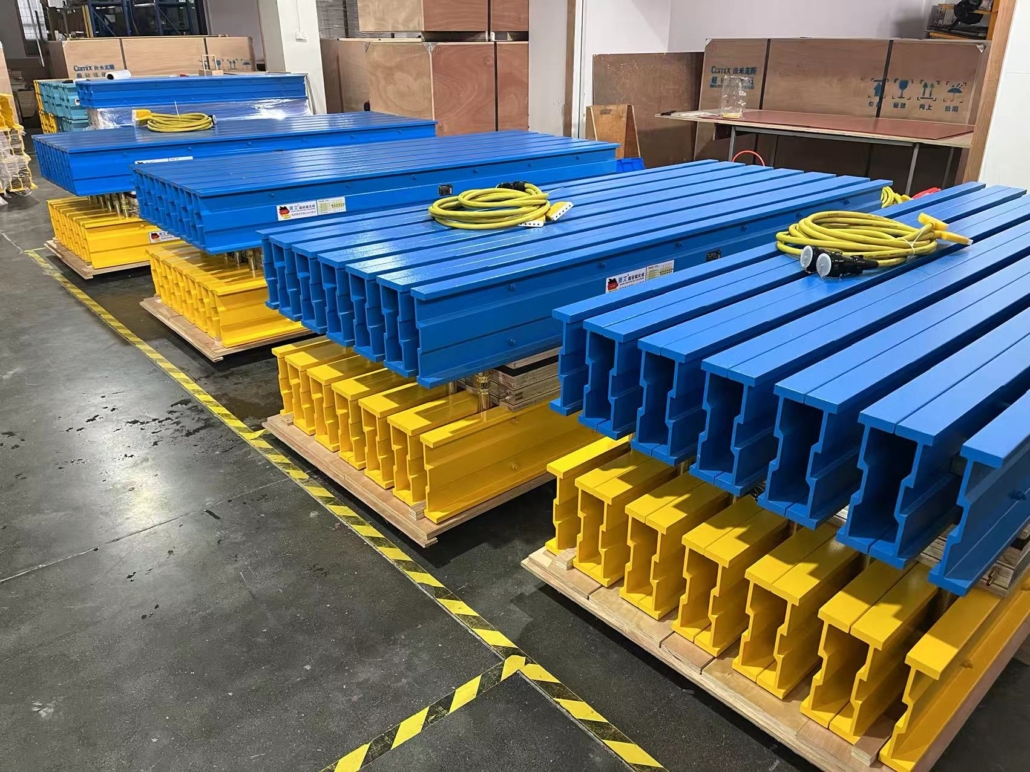
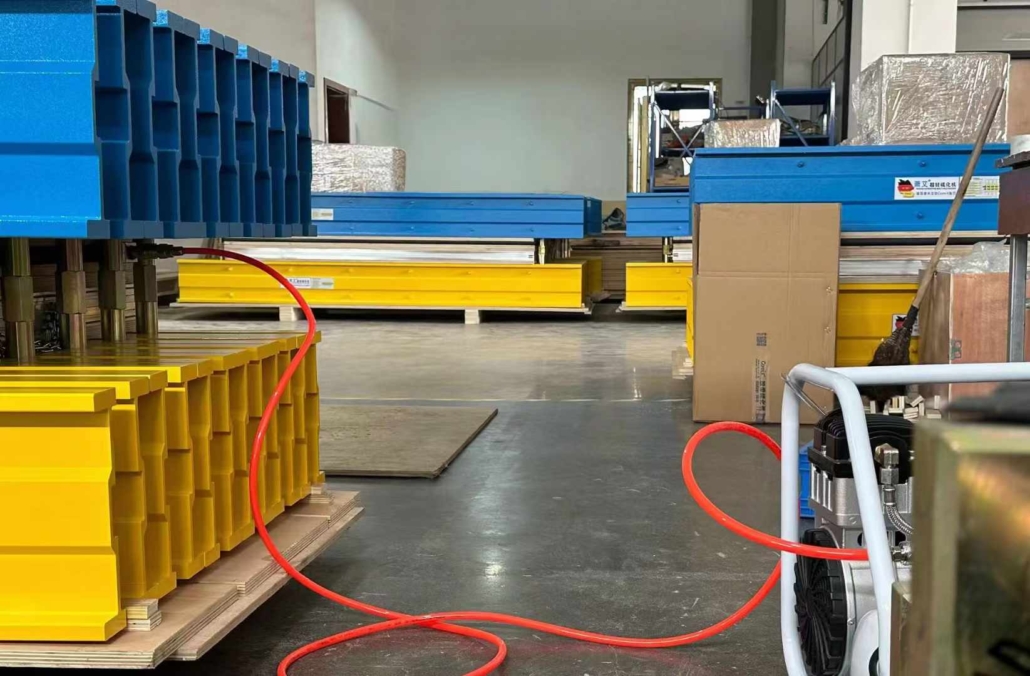
ALEX Sectional Super Light Conveyor Belt Vulcanizer
Germany brand parts assembly , fast water air dual purpose pressing, water air dual purpose cooling Alex super light conveyor belt vulcanizer;
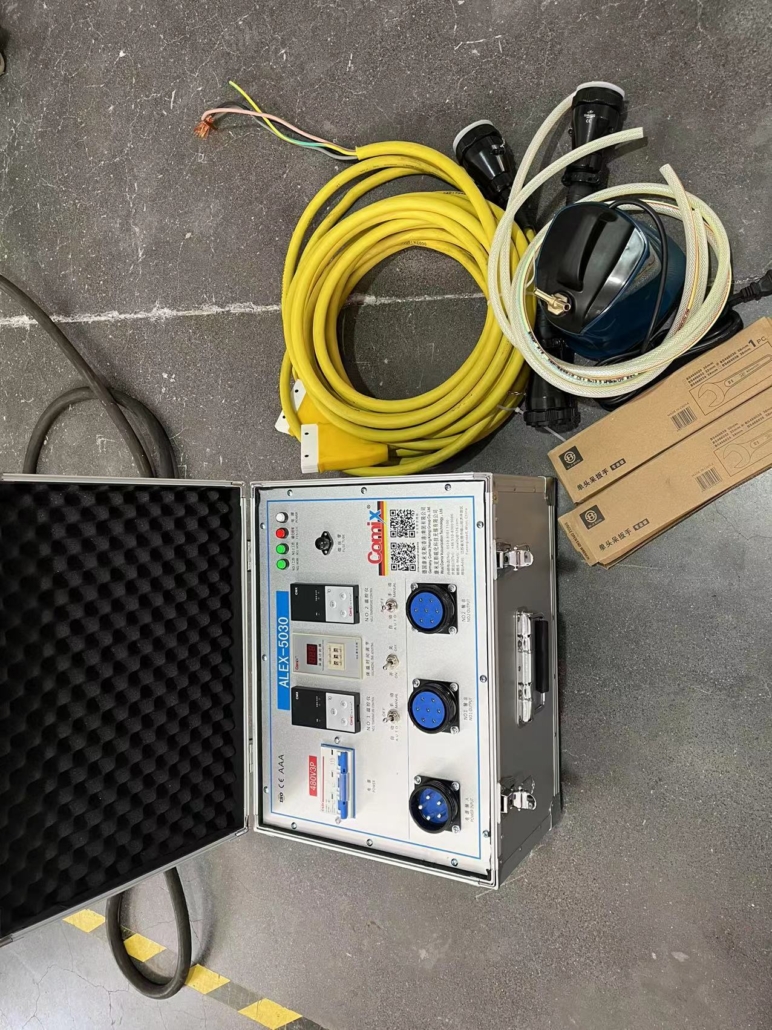
Super light electric control box with aluminum alloy shell (about 40% lighter than traditional iron case);
“ComiX Germany” Silicon heating blanket type super light natural cooling heating plate (about 70% lighter than the old traditional vulcanizer heating plate)
“ComiX Germany” Pure rubber pressure water bag and air bag (about 70% lighter than the old traditional bulky water pressure plate, which can be used with water pump and air pump) ;
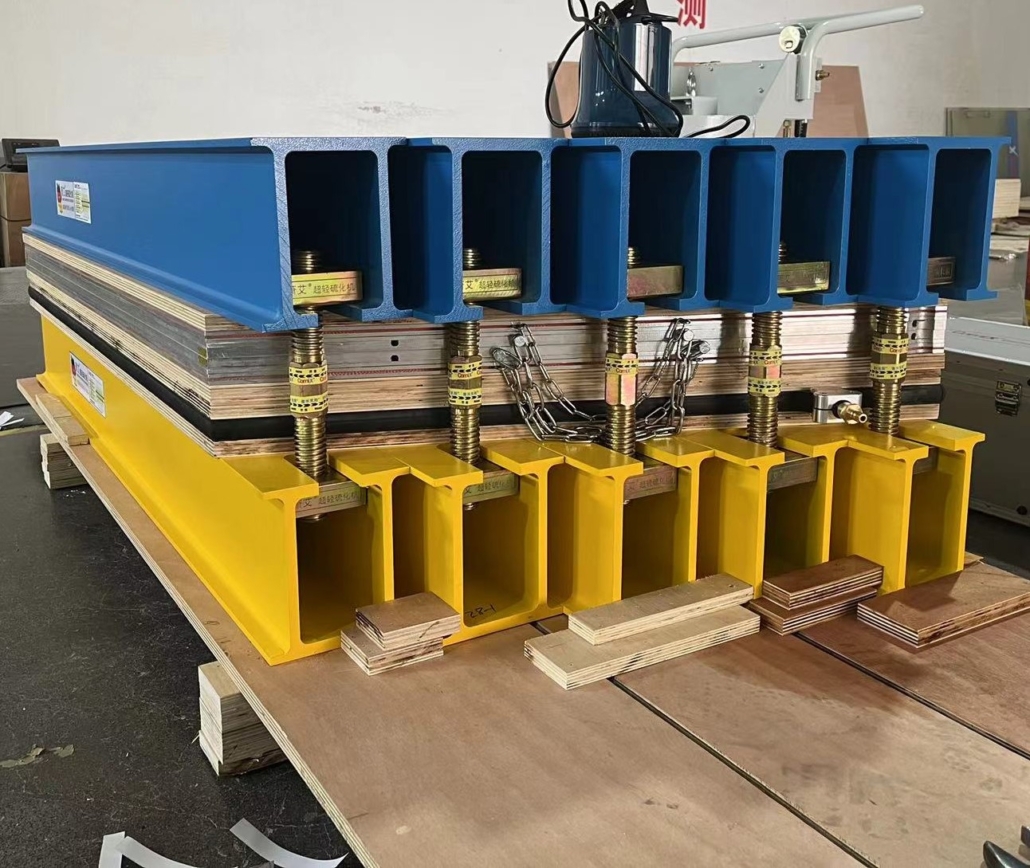
Water and air dual-purpose superimposed aluminum alloy heating plate adopts integral or split aluminum alloy cooling plate without built-in cooling copper pipe, which can cool down ultra quickly in 5 ~ 10 minutes (depending on climate and seasonal changes) (about 50% lighter than the traditional heavy built-in copper pipe type) ;
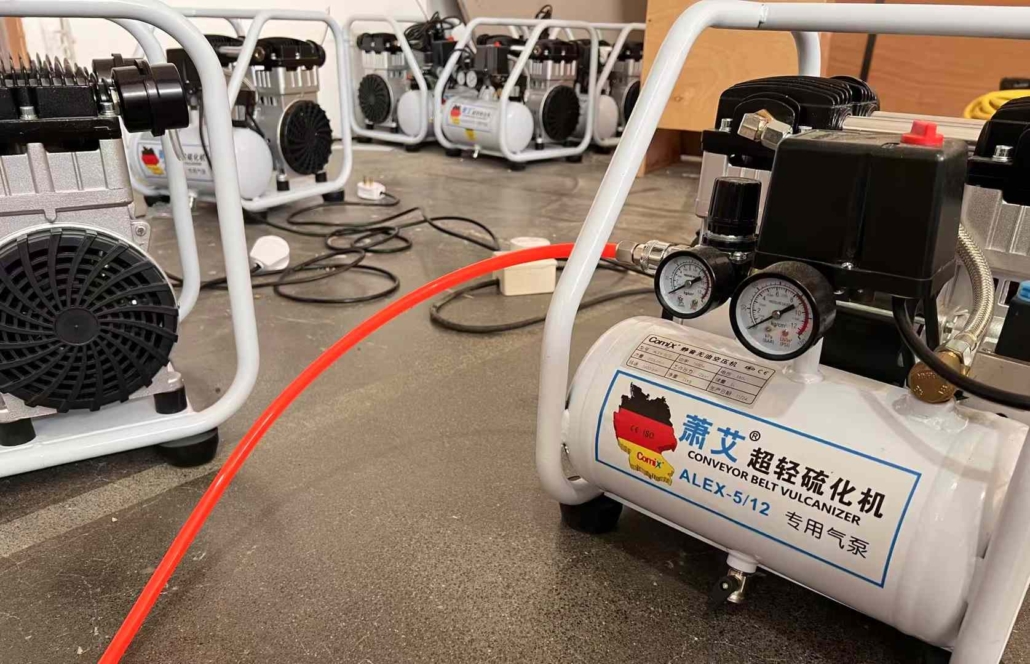
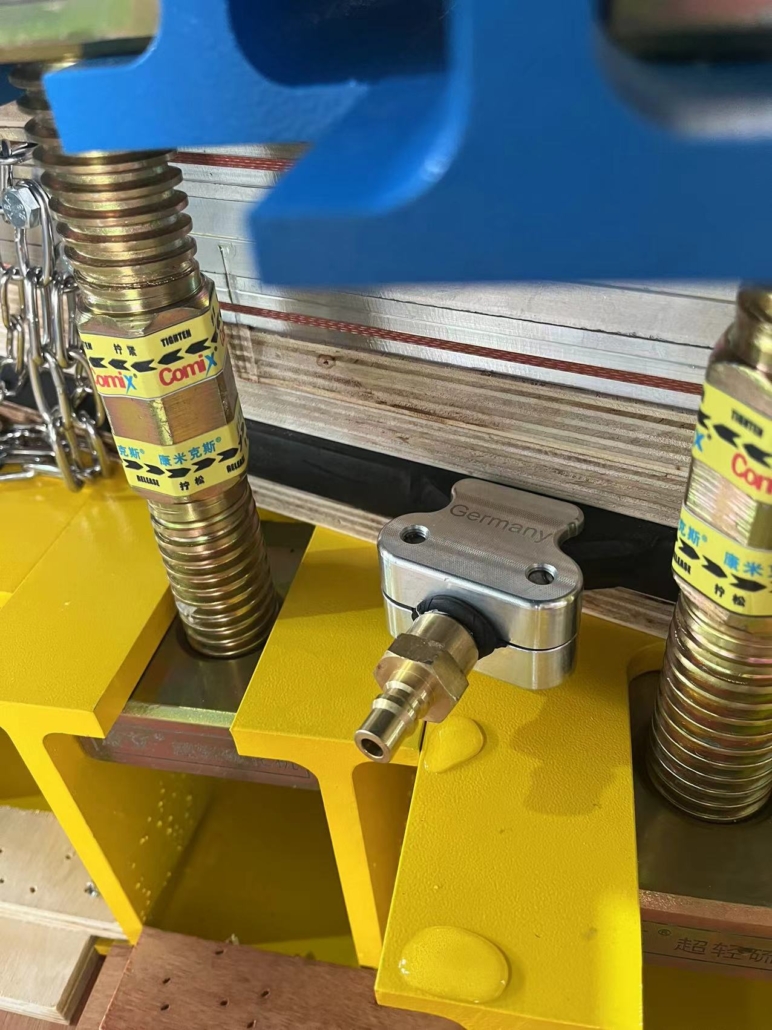
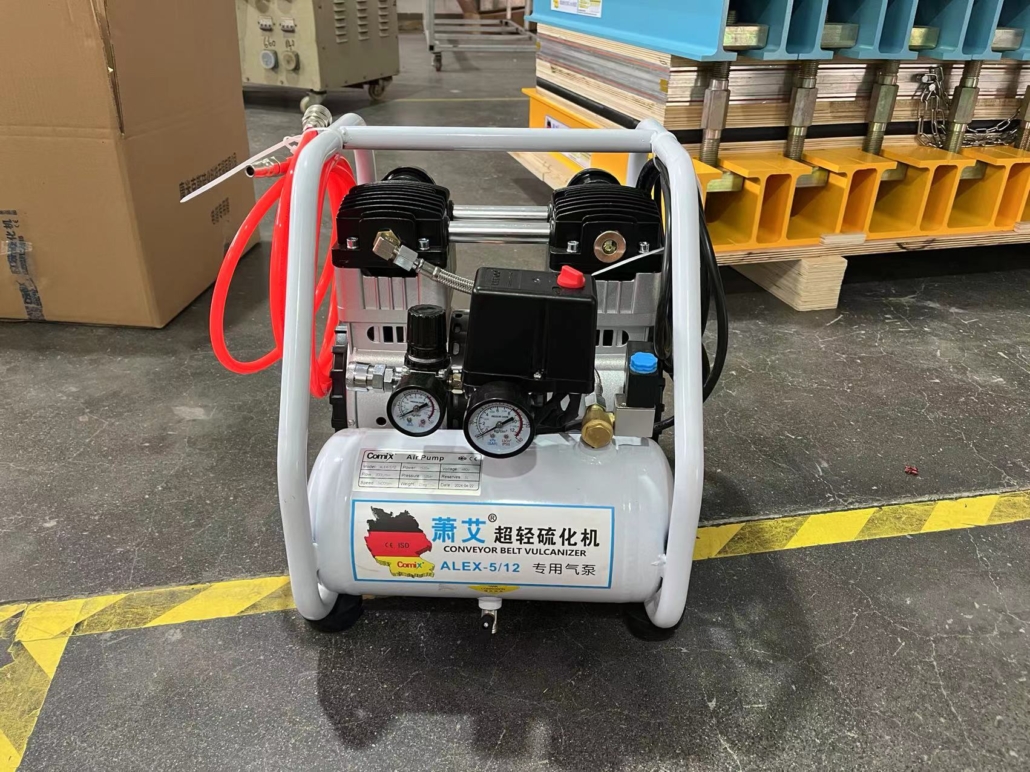
Super light T6 cavity color aluminum alloy cross beams (about 35% lighter than the traditional old heavy aluminum alloy cross beams);Micro electric air pump (interchangeable with the electric pump) ;
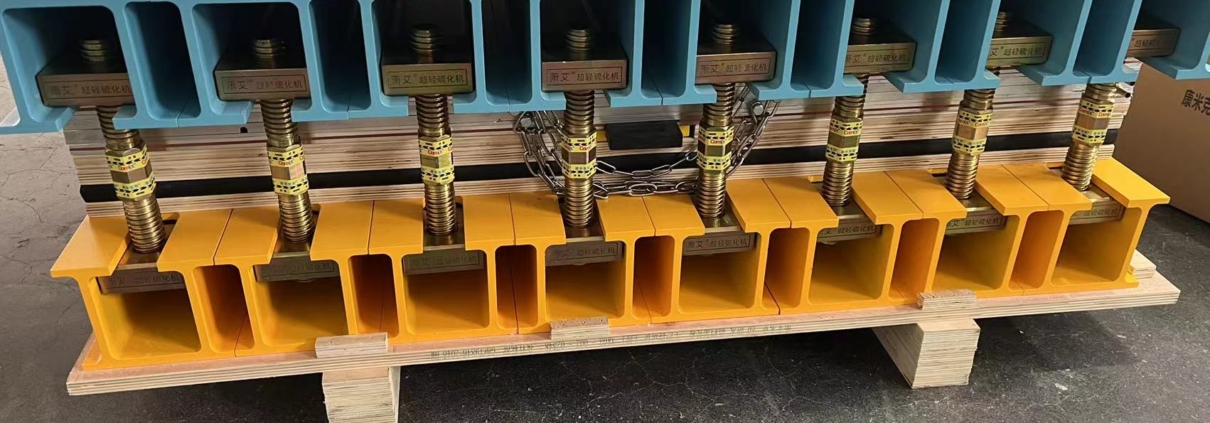
Double head square screw (color zinc plating on the surface, fine work of computer processing center);
Adopt Schneider contactor (or solid-state relay), imported computer touch screen, PLC module combination, Germany brand instrument and electrical parts to ensure that the strength of the belt joint reaches more than 90% of the original belt.
Optional:
1. Intelligent digital temperature control configuration;
2. Computer touch screen temperature control configuration;
3. Mobile phone remote control 5G reservation、GPS、Beidou、remote wireless Internet of things control configuration;
Temp difference of vulcanizing plate heating temp: 0℃;
Temp Rising Time (From room temp to 145℃ ) 15~25 mins ( Will change depending on season and climate);
Temperature cooling time(From 145℃ to below 50℃ ):
1.About 120~180 mins by natural cooling;
2.It will take about 5~8 mins to cool down the temp by rapid water cooling( Will change depending on season and climate);
Voltage: 380/660V, other voltages can also be customized;
Temperature adjustable range: 0~200℃;
Timing adjustable range (Constant temp): 0~399mins;
The upper and lower heating plates are pressurized: close to the belt under 1.0MPa, and the gap is 0mm;
Temperature rising, constant temperature, temperature cooling intelligent instrument or computer automatic vulcanization;
Equipped with air pump or water pump or other hydraulic pump;
High strength color environment friendly craft hard aluminum alloy;Ultra light “water, air, oil functional pressure plate”(Is about 70% lighter than the traditional water pressure plate);
Ultra thin heating plate(Is about 65% lighter than the old type);
1~10mins rapid water cooling function, the vulcanizer can be disassembled immediately (the cooling time is determined by the size of the machine)
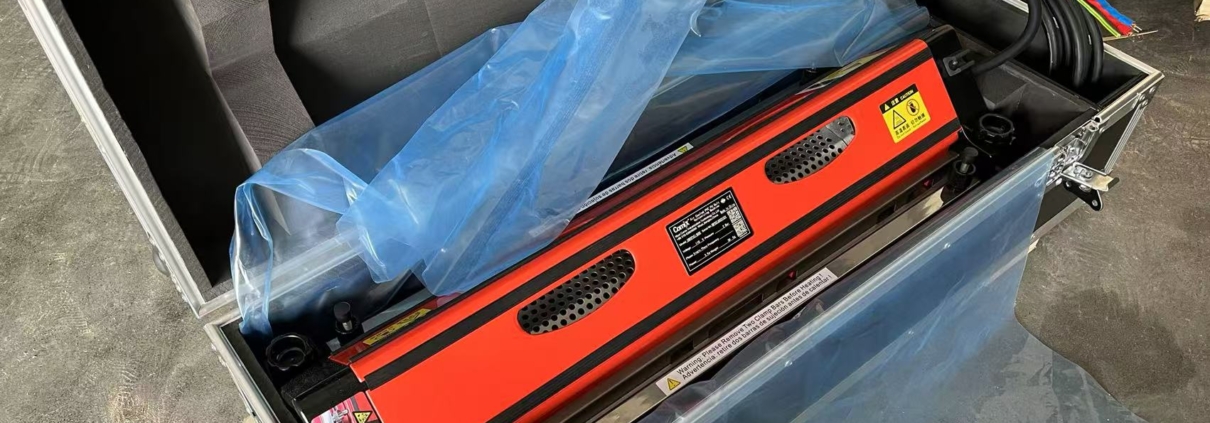
Two Sets PVC Belt Machine Are Exported To America In The End Of October
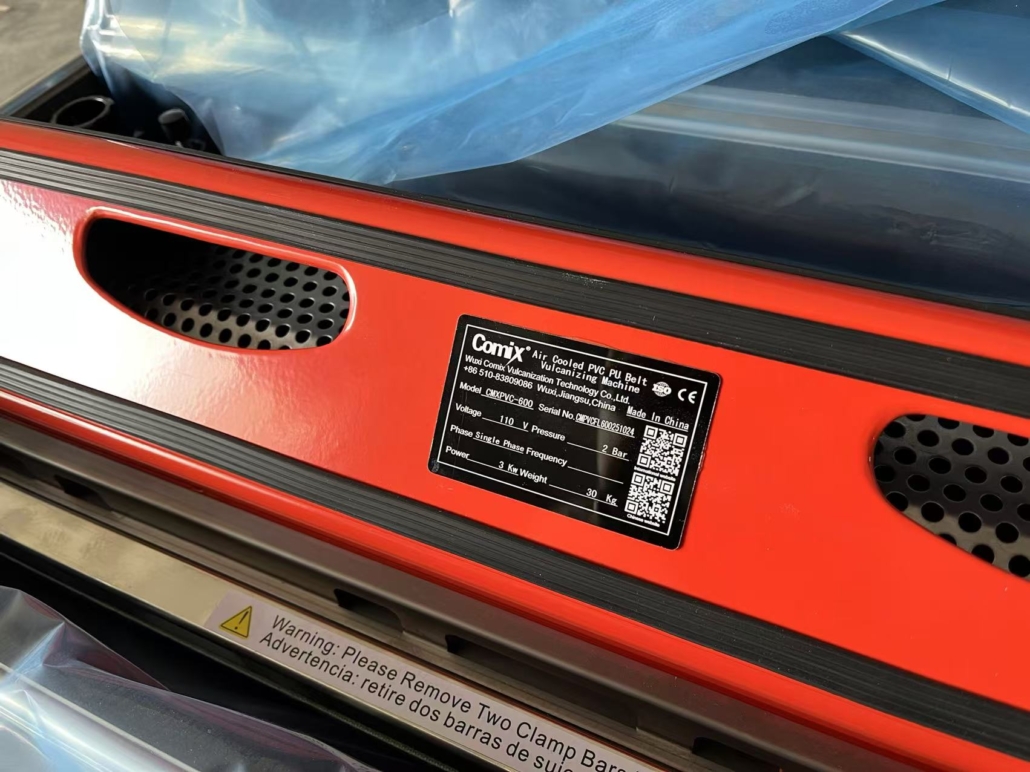
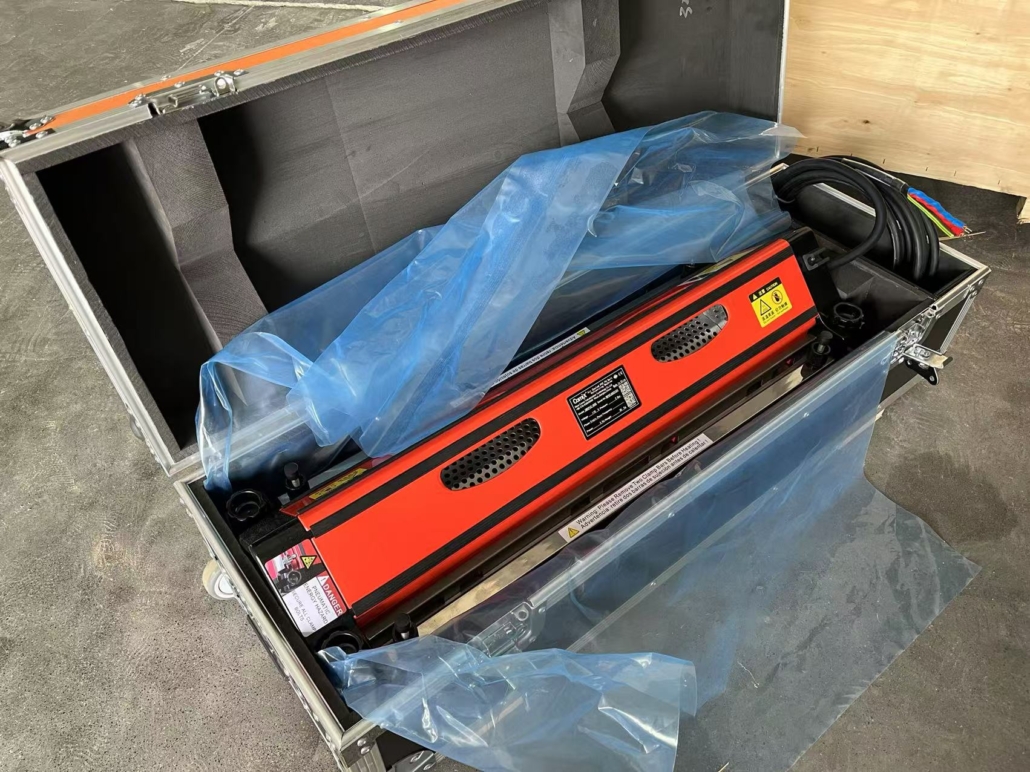
One set air cooled PVC belt press and one set manual finger punch machine for 24in belt width were exported to America in the end of October.
The air cooled PVC belt press is very light and portable with flight case as standard packing, is easily removed to any where for job site use. The press has different models for width from 12″ (300 mm) to 78″ (2000 mm). The press has an integrated air-cooling system and also air compressor inside. Ensuring that the belt is quickly cooled down and auto press on, without water pump or additional air compressor. The heating time and cooling time are no more than 12 minutes.
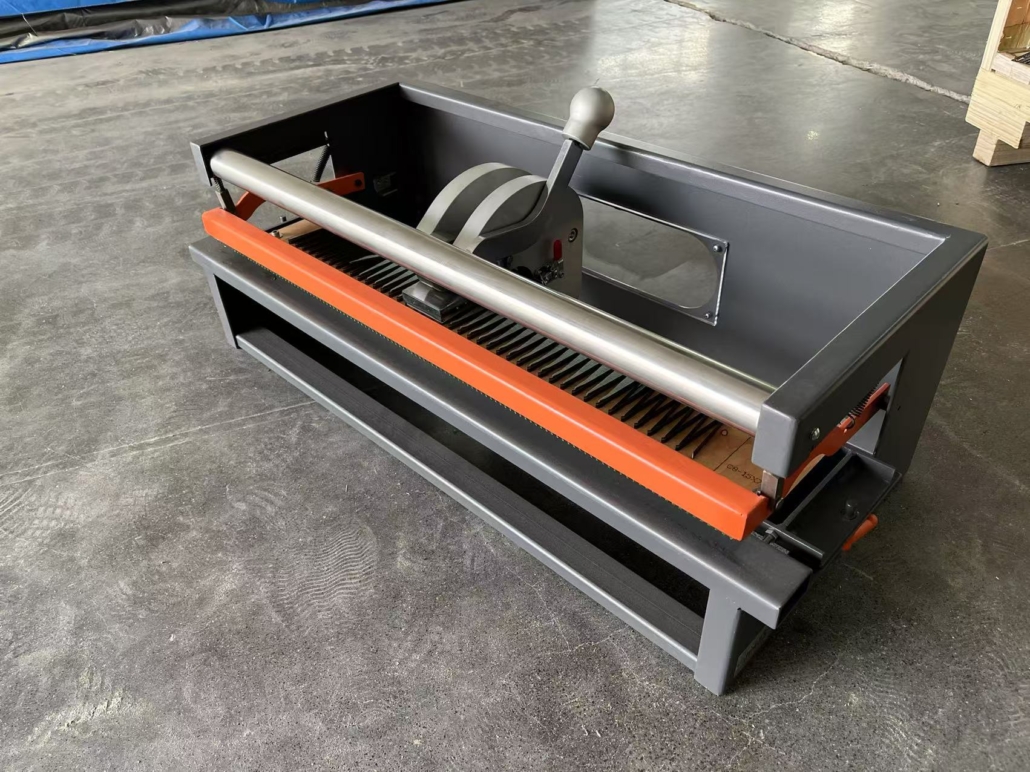
The manual finger punch machine, has different model width from 24’’(300mm) to 60’’(1500mm) used for PVC PU belt etc. With Light weight and portable design, good choice for outdoor work use. No need electric power. No need air compressor. No need bring hydraulic pump etc.
If you are interested on the PVC machines. Feel free to contact us.
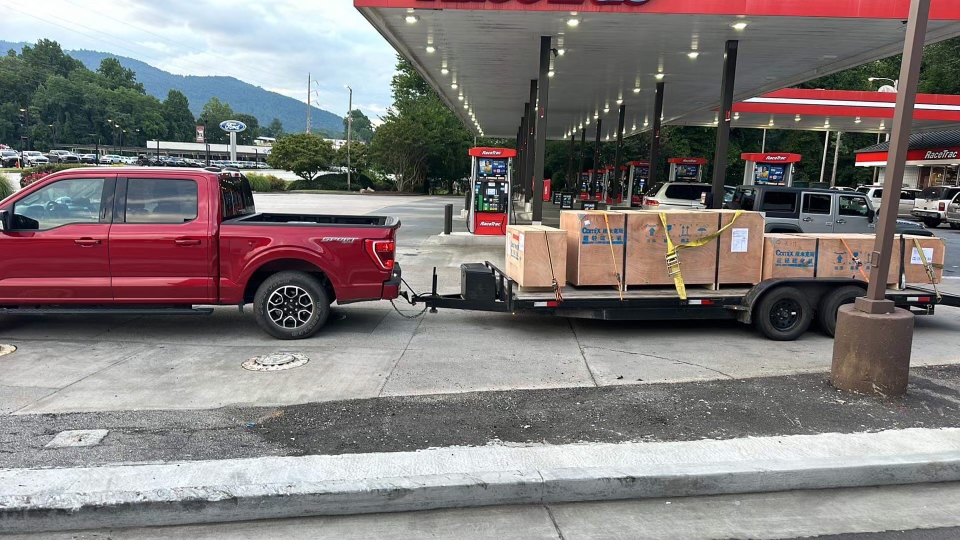
One Set Super light conveyor belt vulcanizing machine delivered to Canada in MAY 2024
The machine is for 24in(600mm), heating plate size is 30*50in(760*1280mm), with 90° bias angle. The weight of heating plate is 28Kg, very light and portable for carrying on the site.
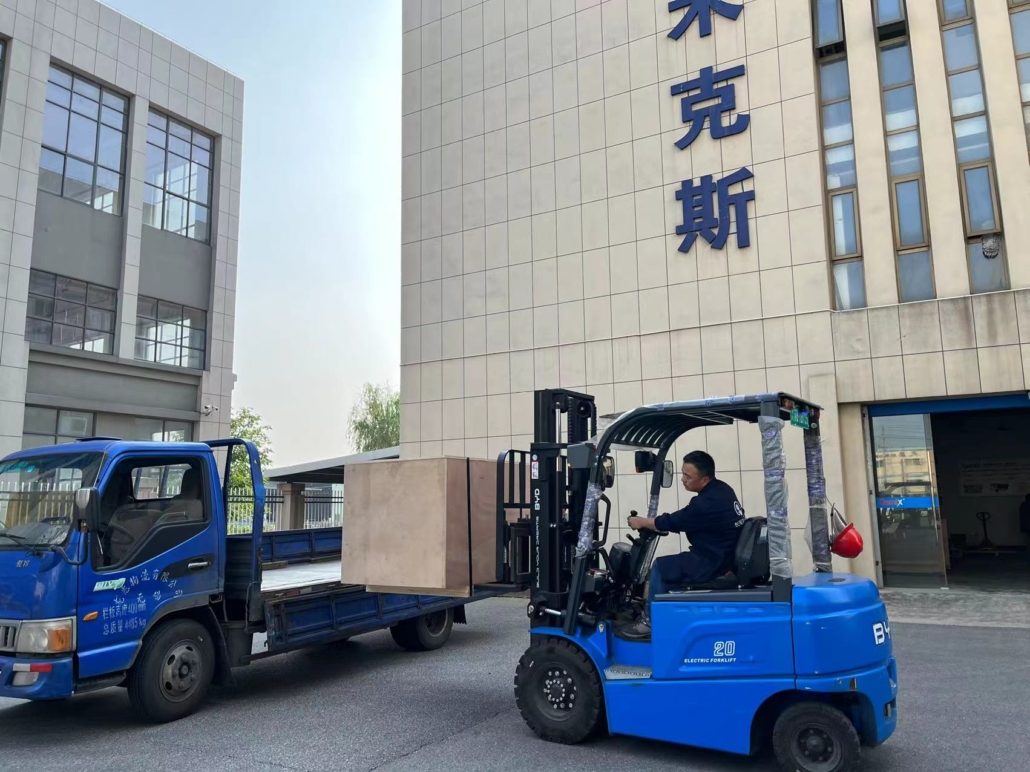
We delivered the vulcanizing machine to customer’s site. Customer didn’t need to go to port to pick up the machine. All they need to do is making requests and payment. Then we will take care of the rest.
If you are looking for the suitable vulcanizing machine, but you don’t know how to do the imports, don’t worry, just contact us, and we will serve you wholeheartedly.
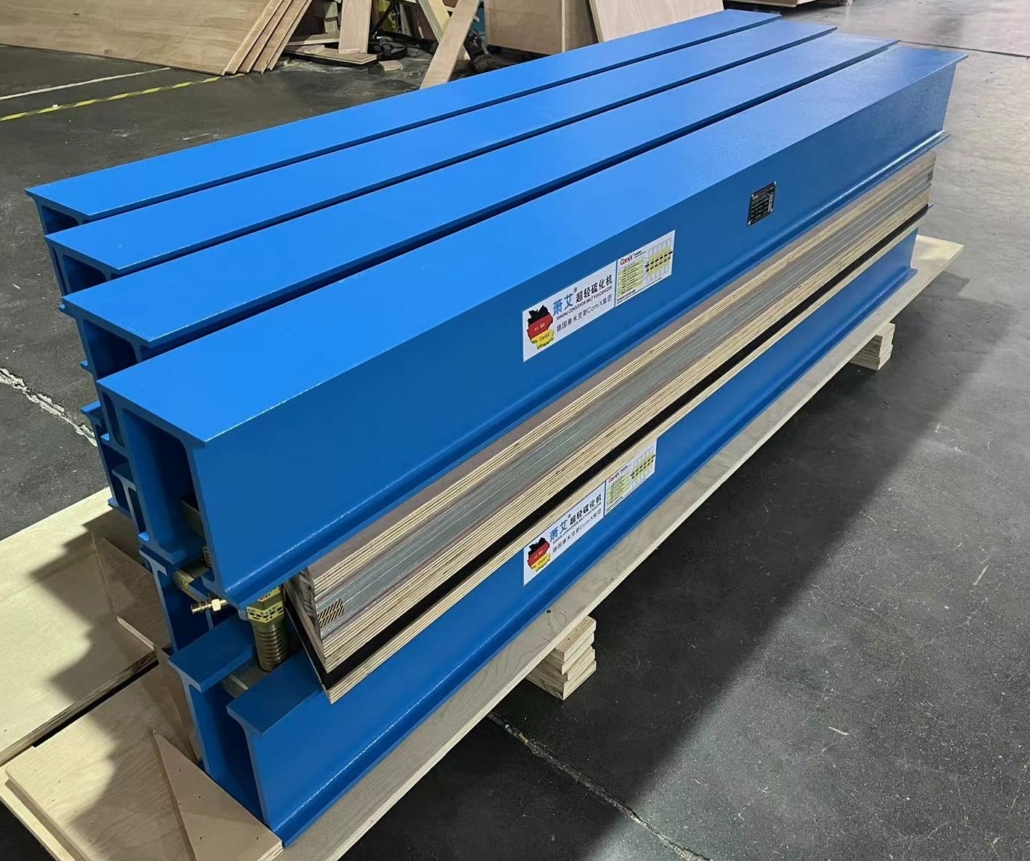
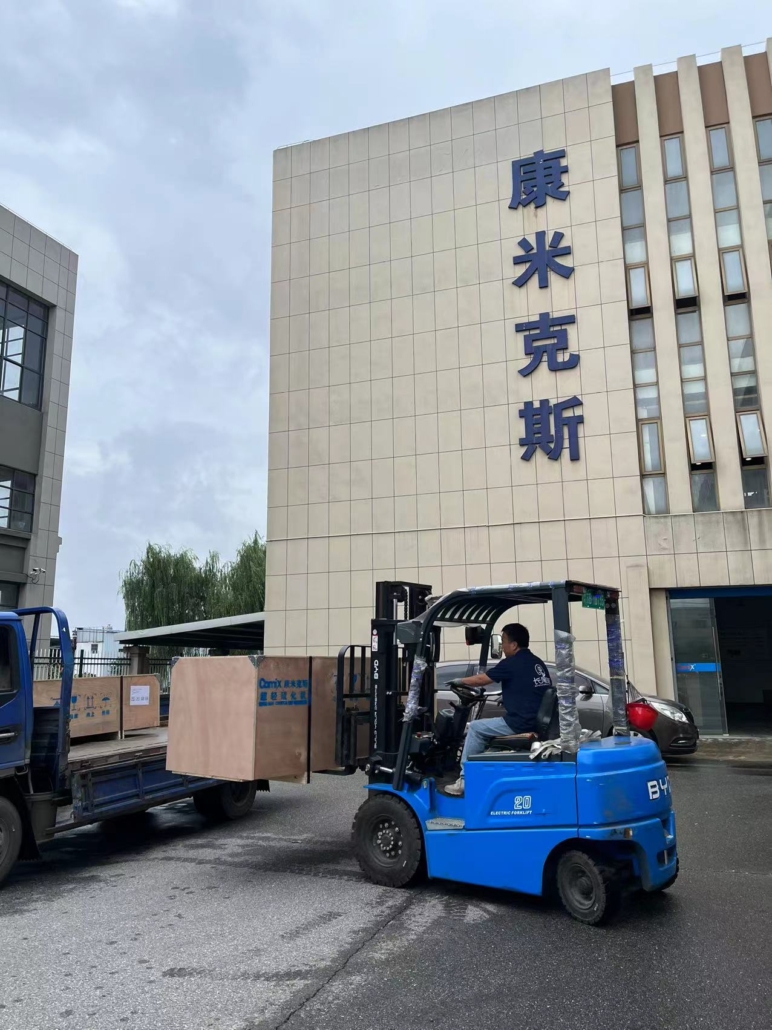
Thirteen days to finish one set vulcanizing machine for delivering to America.
Customer needs the machine urgently, so we speed up the manufacturing process, and deliver the machine ahead of schedule on the base of good quality. The machine is for 60in belt width. The heating plate size is 1770X1078mm+1770X820mm(vertical), with 22° bias angle.
The customer placed the order on June 15, and we delivered the machine on June 28. VERY FAST. And the machines are sent to America by air. The customer received the machine on Jul 9. If you need the machine urgently, please do not hesitate to contact us.
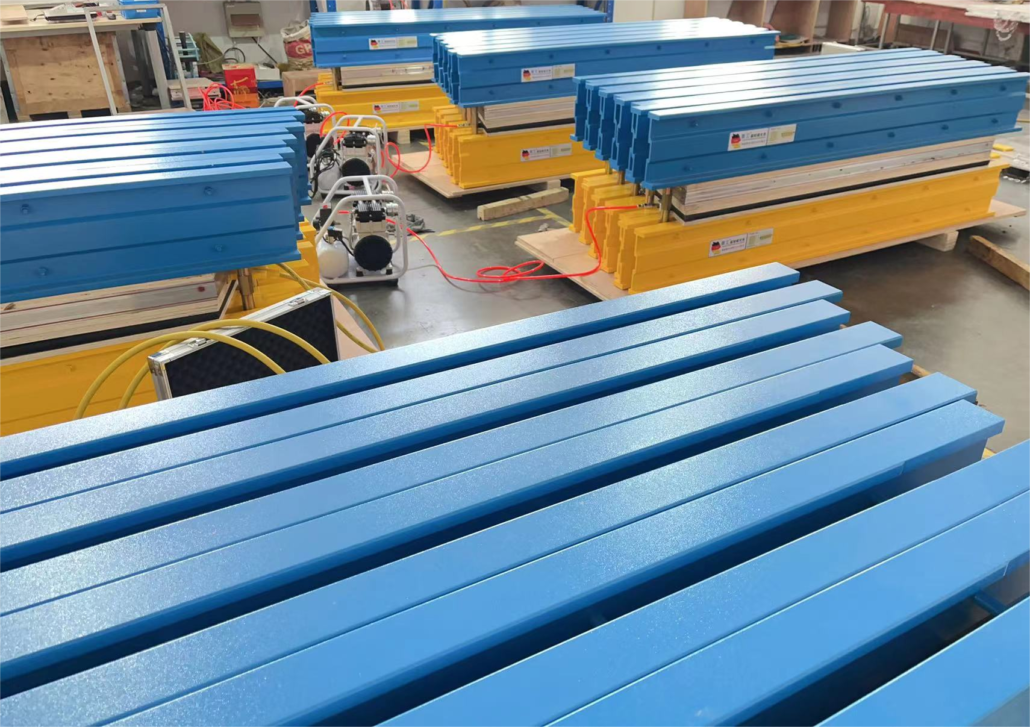
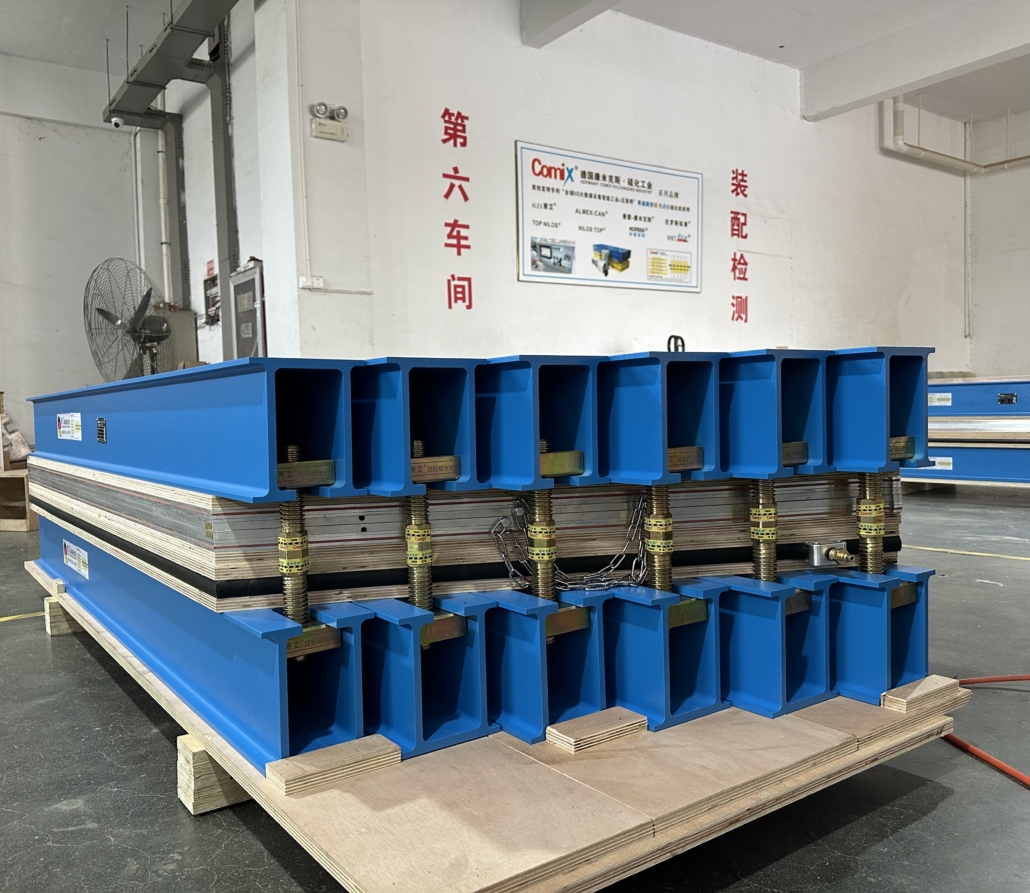
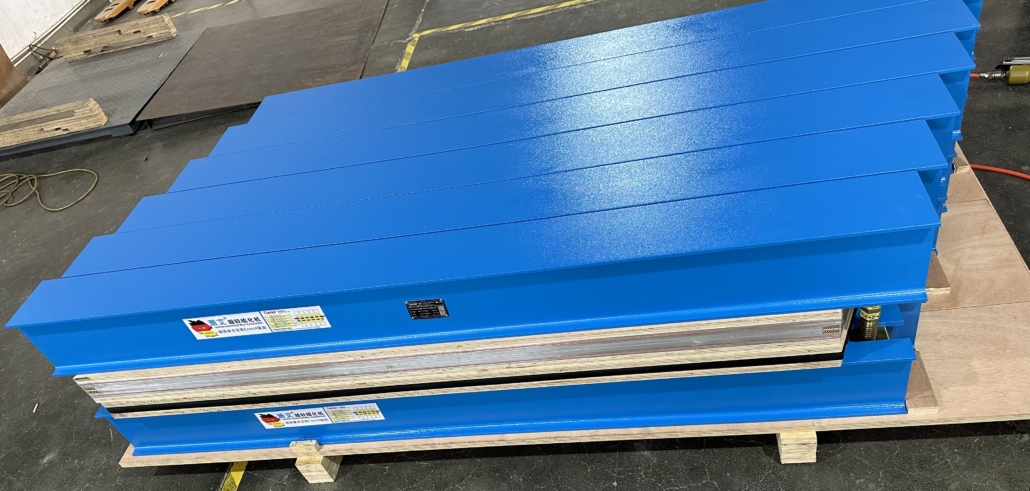
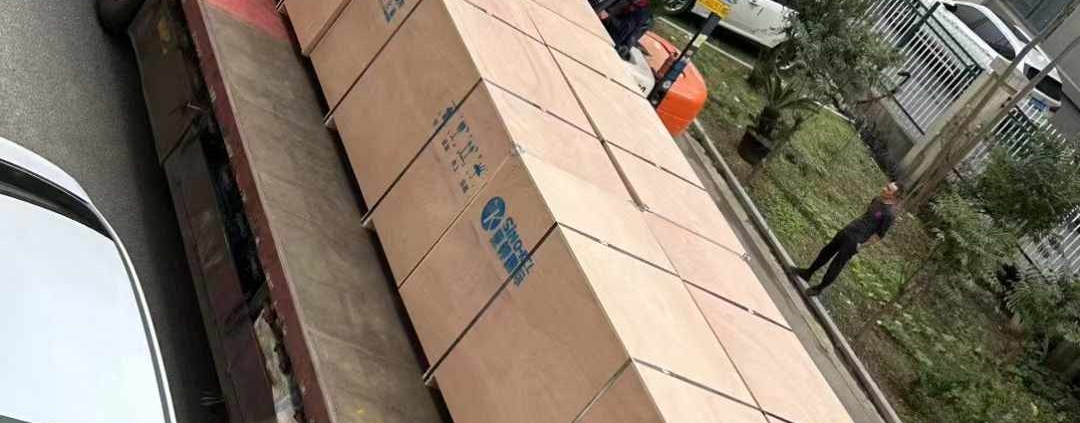
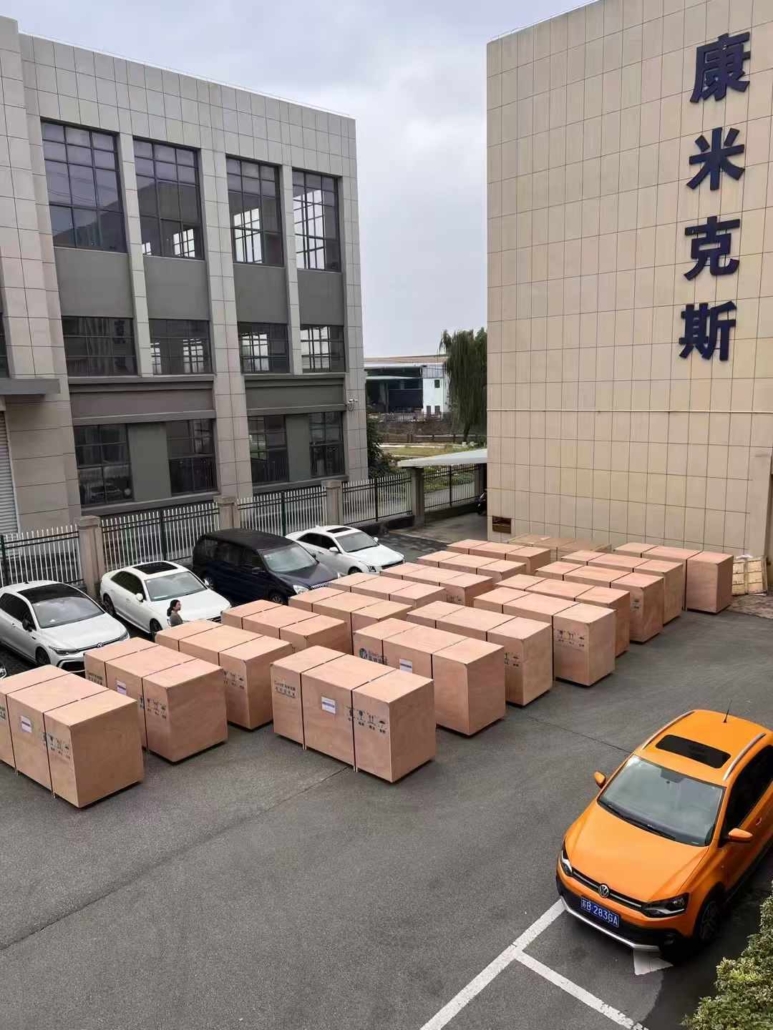
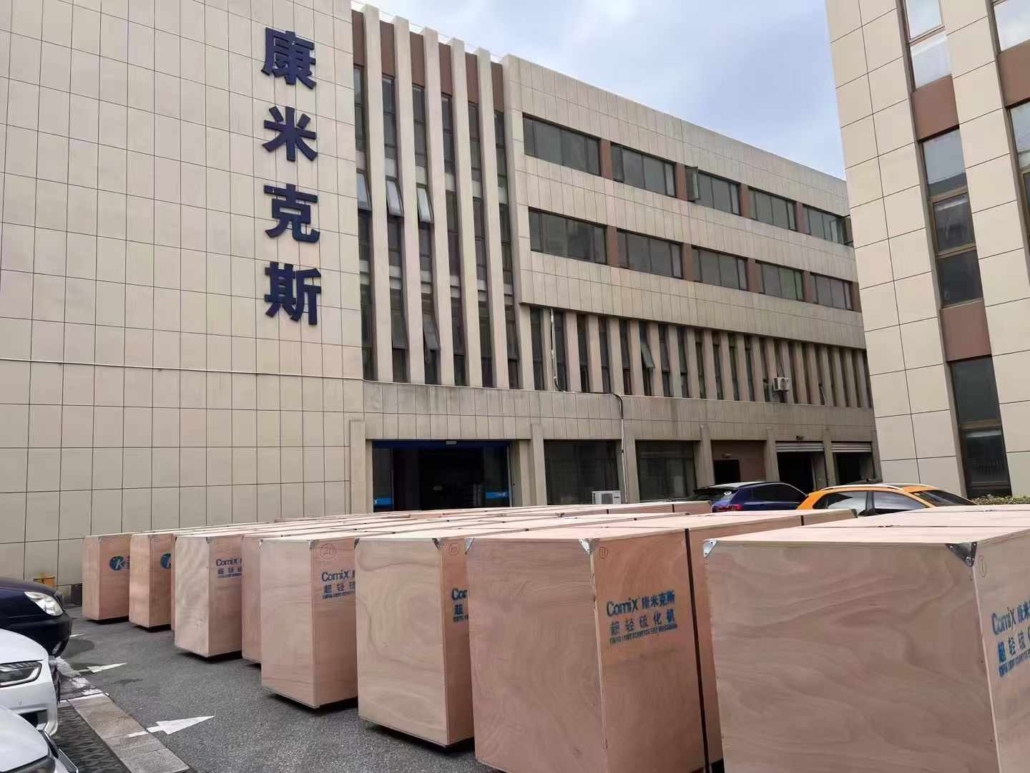
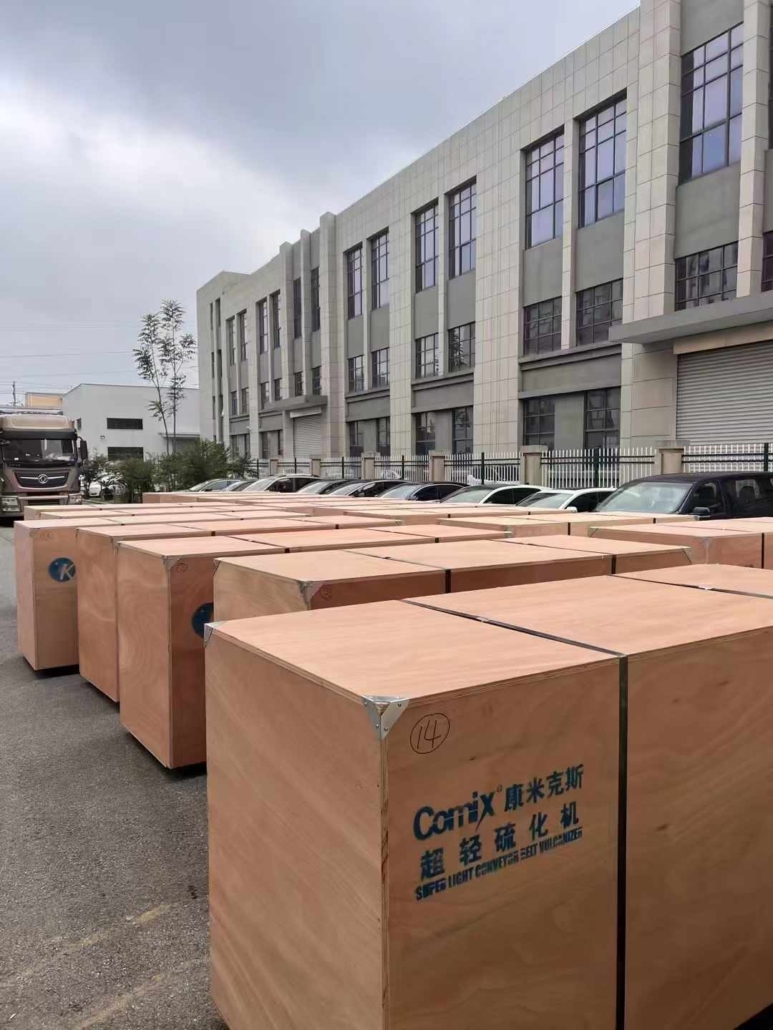
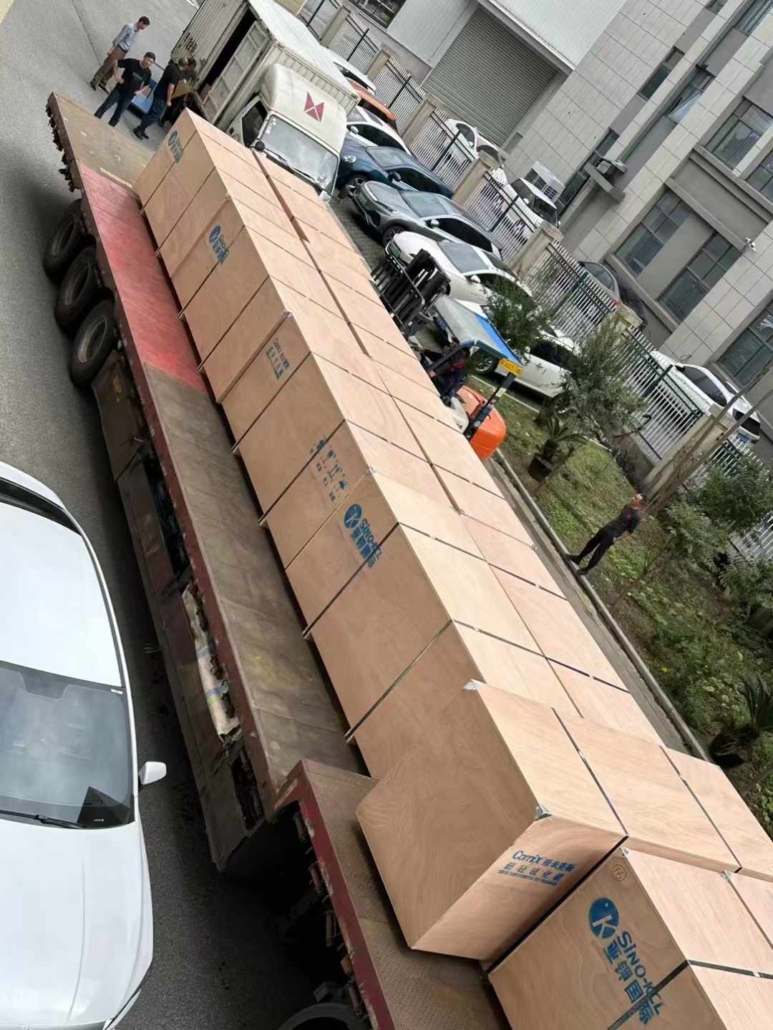
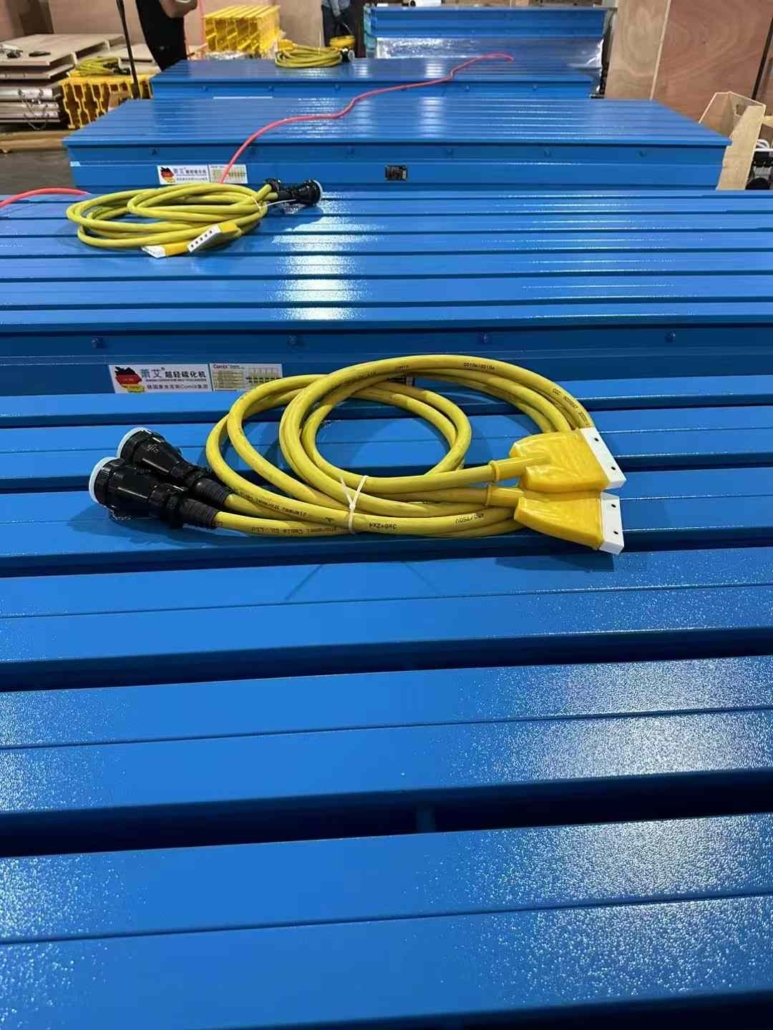
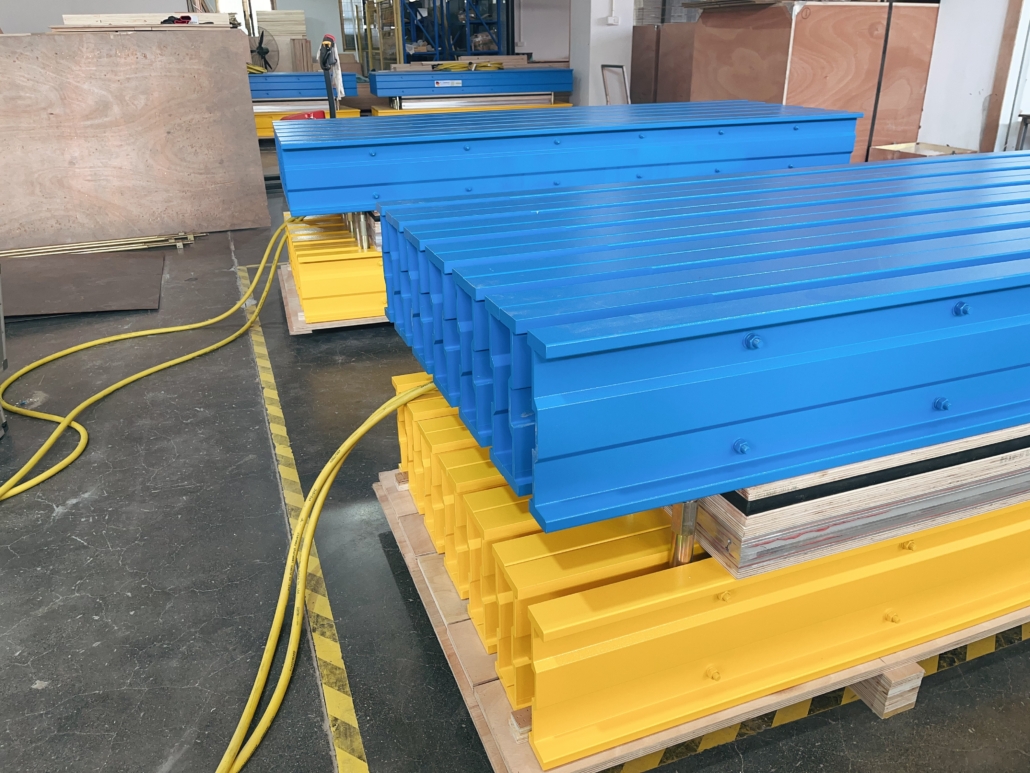
20 Sets Alex Super Light Conveyor Belt Vulcanizer Delivered To The Laos
We have finished the production and test of 20 sets conveyor belt vulcanizing machine for 1800mm belt width, and made the delivery this Monday.
The heating plate size is 1950*1000mm, with 90° bias angle. It takes us about 50 days to complete the order since we received the deposit.
It is the repeat order from one of our regular customer, who is satisfied with our products. If you are looking for suitable conveyor belt vulcanizer, feel free to contact us.